Understanding how SmartBench’s patented material clamping technology works is key to understanding the principles of workholding.
< Previous | List | Next >
What is it?
SmartBench features our patented material clamping approach. The X Beam (shown below) is split into two assemblies, and the material is clamped between them. Rollers allow the X beam to travel along the length of the material, providing support to the underside of the material where it is needed as it is cut.
We call this material clamping technology.
F: Clamping force

We have a video which explains this a little more here:
Traditional CNC machines follow a more traditional approach, which is to put rigidity across the entire workspace, whether it is used or not. But this makes them big, bulky, heavy and expensive.
SmartBench’s built-in material clamping technology provides the rigidity it needs directly at the cutting site. This allows it to be significantly lighter and more efficient, from a mechanical perspective, than the traditional approach.
General principles for the material clamping technology need to work
The material must be fixed to the Y bench
Beam clamping offers support to the material in the Z axis, but in most cases the material will also need to be fixed in the XY plane (onto the Y Bench). This will prevent the material from shifting as the beam travels along the Y axis.
Note that if the materials are heavy, the weight of the materials alone may be sufficient to keep the materials from moving. However we would always recommend fixing (if possible) to decrease the risk of materials shifting during a job.
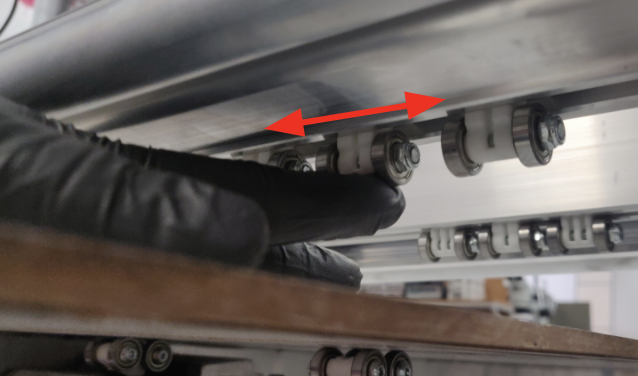
Rollers must be positioned to provide material support
Large sheet materials will overhang along the sides of the Y Bench, and may sag in areas which are furthest from the X Beam.
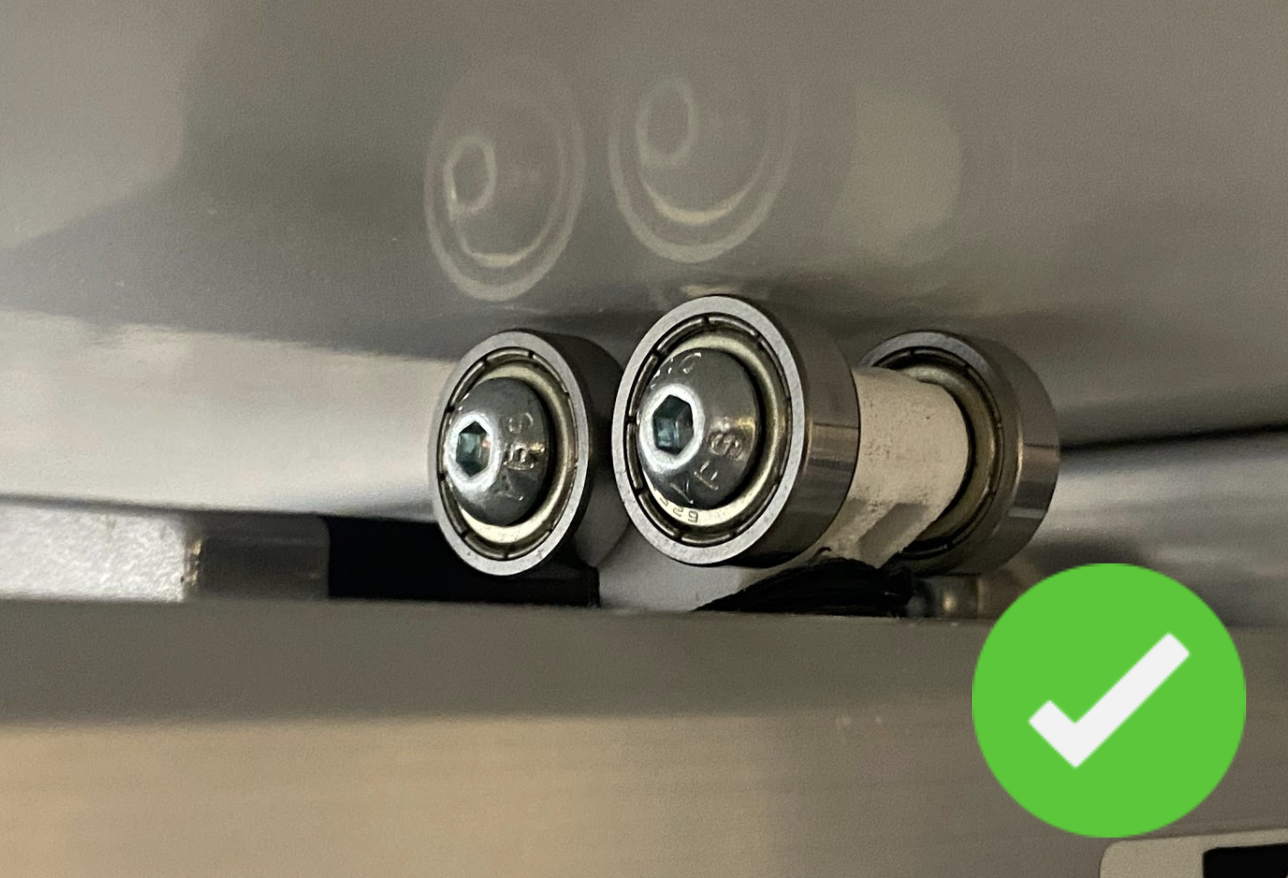
As SmartBench travels along the material it flattens and supports it with rollers on both the Upper X Beam and Lower X Beam. For the process to be accurate, rollers have to make full contact with both top and bottom surfaces throughout the job.
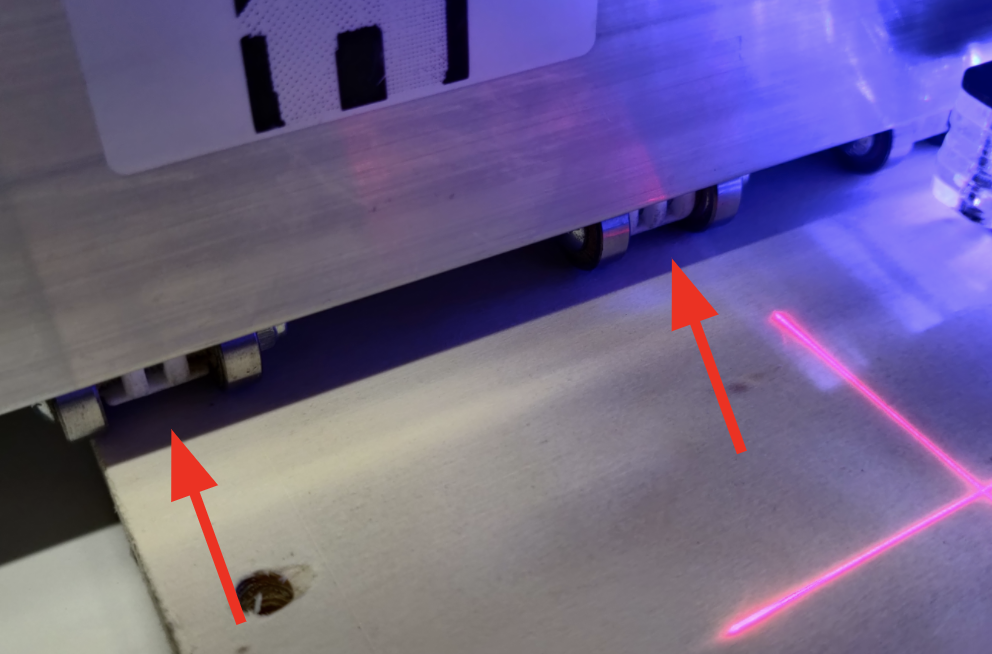
When you have positioned your materials, adjust the rollers so that they will always be in contact with the work surface and the spoilboard as SmartBench moves through the Y axis.
Rollers must travel easily across the workpiece, so ensure all contact surfaces are smooth and flat throughout the length of the travel.
We will go over this principle more in the sections on choosing a spoilboard, and supporting the Upper X Beam (particularly in the case of using offcut materials).
Secure clamping of the X Beam around the material
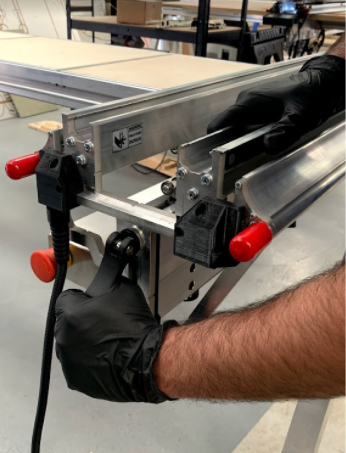
When you drop the Upper X Beam onto the material, ensure that the rollers are fully resting on the surface of your workpiece, evenly distributing the weight of the Upper X Beam onto the material surface.
Then, securely clamp the Upper X Beam to the Lower X Beam, using the two clamp handles at each end of the X Beam.
< Previous | List | Next >