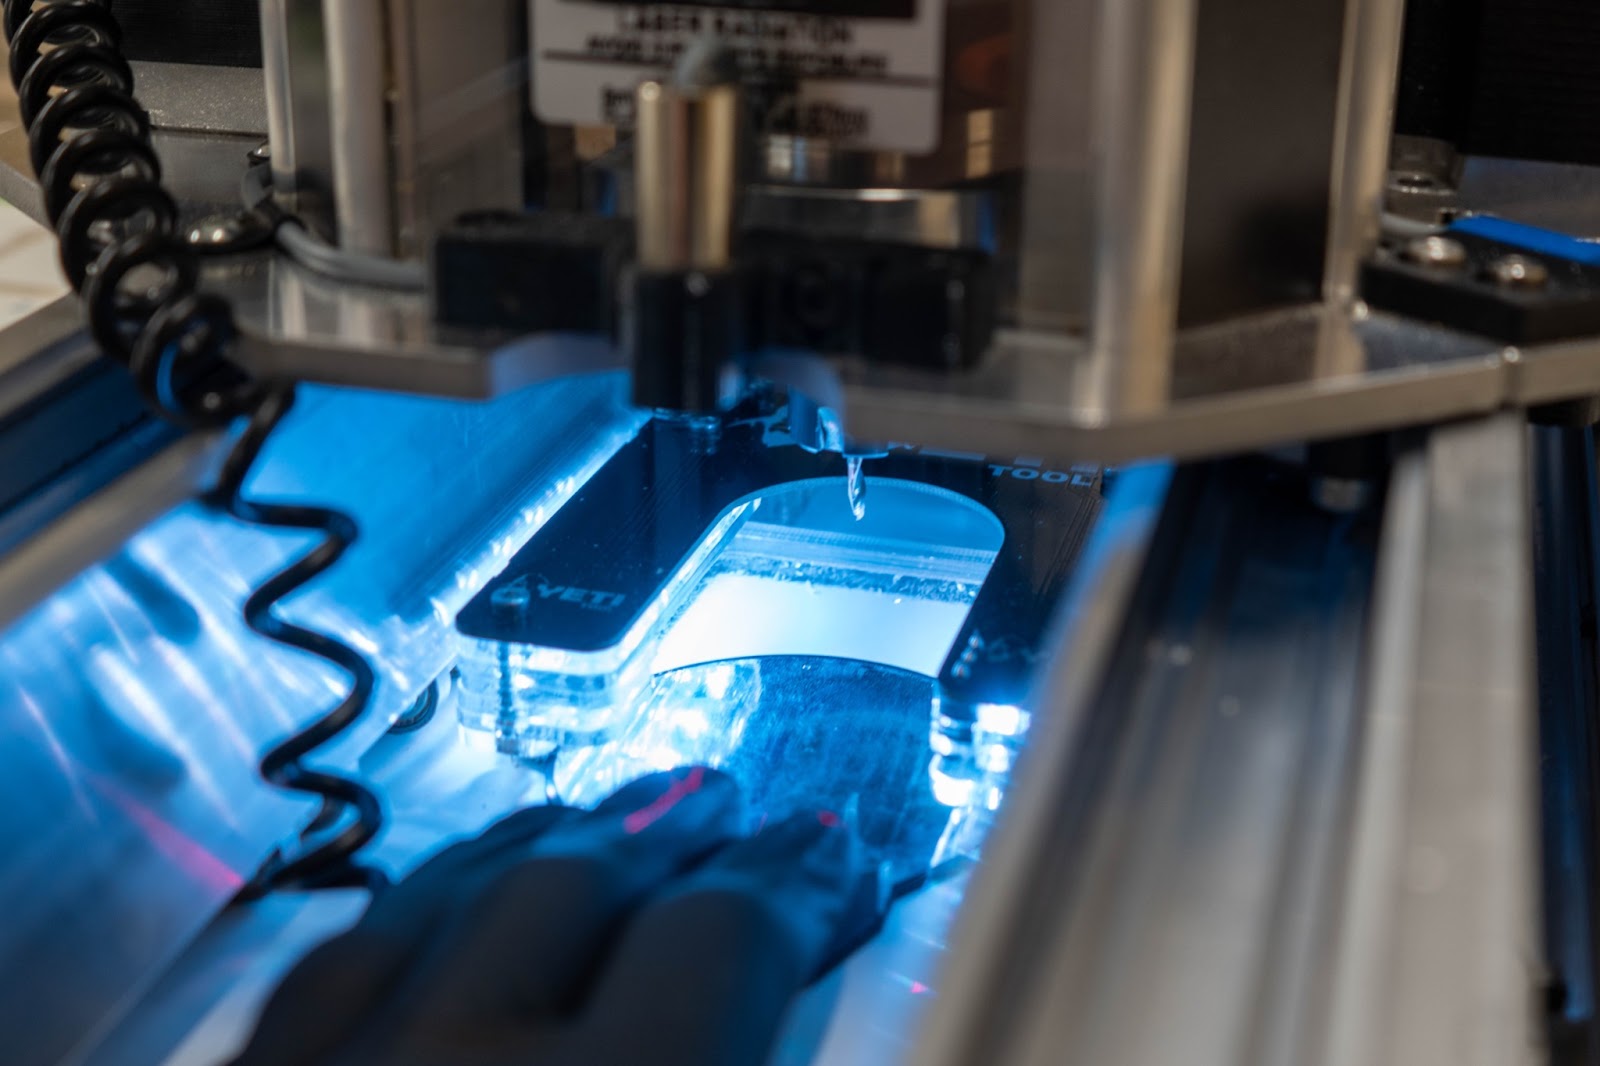
This article will give you a quick overview of how and where to set the Z datum before starting the first job.
< Previous | List | Next >
We also need to set the Z datum. Our job is set up to have the Z datum on the top surface of our spoilboard (bottom surface of the stock material).

Use the PRO app on the SmartBench console to move the X axis so that the Z Head is away from the stock, and sitting above the spoilboard.

A: Stock material
B: Cutter
C: Spoilboard

We will use the probe plate to auto-set the Z datum.
Use the manual move buttons to move the Z axis down so the tool tip is close to the top surface of the spoilboard.

Remove the Z probe plate from the back of the Z head, and place it underneath the tool tip.


In the PRO app on the SmartBench console, press the Z Probe button on the right hand side of the console screen.

SmartBench will automatically detect when the tooltip has touched the Z probe plate, and set the datum.
Once set, the dust shoe will illuminate green and the Z axis will lift.
Click here to learn more about how to set the Z datum.
< Previous | List | Next >