If you are having problems updating your software, you can carry out a repair to fix the issue. You will need to have your console connected to the internet to do this.
< Previous | List | Next >
Prevention is better than cure
The Console contains a small computer that is constantly carrying out background processes, and sending or checking information in its memory while it is on.
Powering SmartBench off using the main power button risks interrupting one of these processes, which then causes errors in the way that changes are saved to memory.
|

|
To avoid the need to repair your software in the future, or further damages to the console memory, it is recommended that you follow the proper shutdown procedure for SmartBench.
Click here to learn more about shutting down SmartBench.
|
Sometimes, the console software may be damaged in such a way that it does not give the user the option to do an automatic repair, but instead may think it is already up to date or gets stuck during the update process.
You can carry out a software repair yourself. Afterwards, your software will be able to update normally again.
|

|
It is recommended that you check and record any maintenance information before repairing your software, as they may be reset due to the software being re-installed.
|
You will need:

Accessing the command line
The first thing you will need to do is exit the console software, in order to access the command line of the console. You will then be able to type in instructions to carry out the repair.
The way you access the command line will be slightly different depending on the version of software on your console.
Click here if you are using v1.5.0 or above.
Click here if you are using v1.2.0 - v1.4.4.
Click here if you are using v0.1.0 - v1.1.4.
Click here if you need help checking which software version you are using.
v1.5.0 or above: accessing the command line
In the lobby, use the arrow buttons to scroll through until you see the System Tools button.

Press the System Tools button.

Press the “Exit Software” button.

When the warning dialogue comes up, press “Yes”.

Click here to go to the next step.
v1.2.0 - v1.4.4: accessing the command line
In the lobby, use the arrow buttons to scroll through until you see the Developer button.

Press the Developer button.

When the warning dialogue comes up, press “Yes”.

Press the “Quit to Console” button.

Click here to go to the next step.
v0.1.0 - v1.1.4: accessing the command line
In the lobby, select the PRO app.

Select the settings tab on the bottom left of the Console screen.
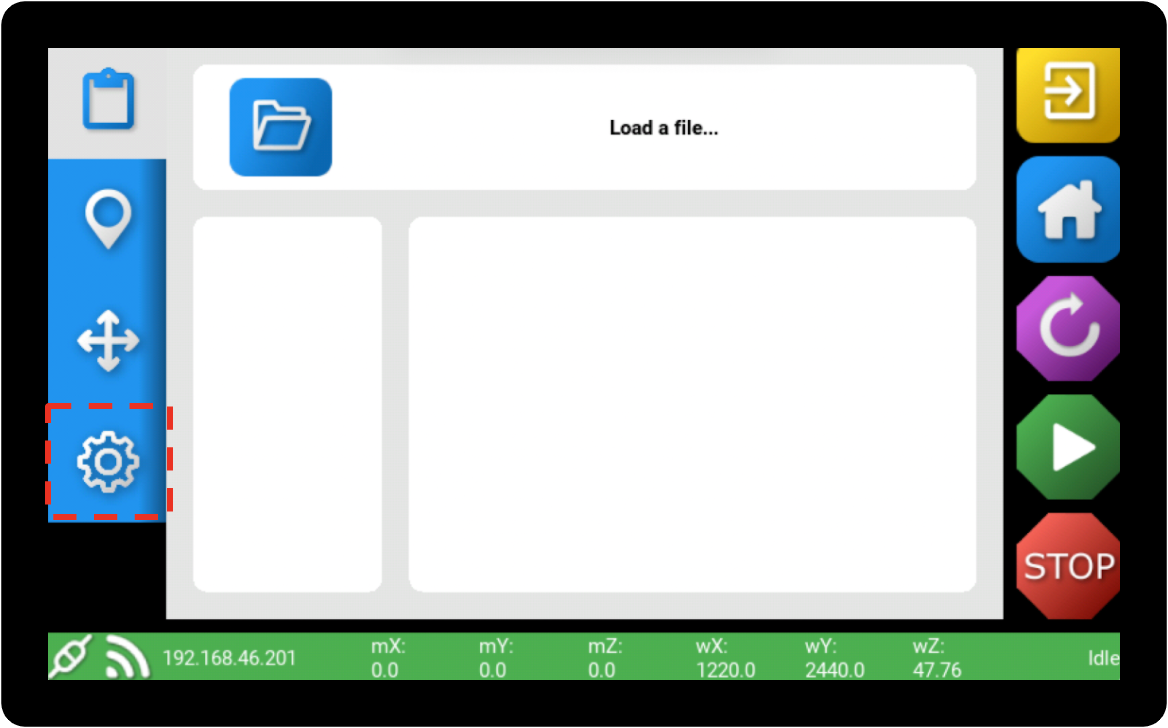
Press “Settings”.

Press “Developer”.

Press “Quit to Console”.

Repairing your software
The blue splash screen will come up. When you see this, press Ctrl, Alt, and F2 on your keyboard all at the same time


|

|
Pay close attention to spelling and any spaces that you type into the console. If you get stuck on a step, try typing the same command in again.
|
A login screen will come up. The username is “pi”. Type this in, and press “Enter” on your keyboard.

The password is “pi”. Type this in (the password area will stay blank when you type in the password), and press “Enter” on your keyboard.
If you don’t get it right the first time, don’t worry! Just type “pi” in again, and press “Enter” on your keyboard.
When you have logged in, you will see: “pi@(your console serial number): ~ $” at the beginning of the command line (where you are typing).

Now that you are logged in, type in “cd easycut-smartbench”, and press “Enter” on your keyboard.

Type in “sudo aptitude install git-repair”, and press “Enter” on your keyboard.

This will install a small piece of software on your console, so it will take a minute.
When you are able to type into the command line again (you will see the dollar sign, $, in front of your cursor), type in “git-repair --force” and press “Enter” on your keyboard.

Wait while it tries to repair your software. This might take up to an hour, so go and do something else for a while!

When it has finished, it may say something like “Successfully recovered repository”. You will be able to type in the command line again.
Type in “sudo reboot”, and press “Enter” on your keyboard.

Your console will restart, and then you will be able to update your software normally again.
Click here to learn how to download a software update over a wifi network.
Click here to learn how to update your software using a USB stick.
|
|
If your console has still not finished its repair after around three hours, please as a next step replace the micro sd inside the console as this would indicate it has failed, guides here to follow this process
You will need to identify the console serial number first to find the correct article
The console serial number is located on the back of your console;

|
< Previous | List | Next >