How to install the SmartBench Console to the bench.
< Previous | List | Next >
You will need

Installing the Console
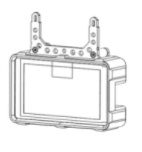
The Console attaches to the home end of the Upper X Beam by inserting the 2 forks into the end plate.
A: Console forks

The slots for mounting the Console are at the home end of the Upper X Beam.

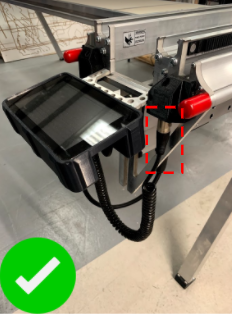
Ensure the forks are inserted fully into the mounting slots as shown below.

Adding the safety bond to the Console
The safety bond prevents the Console from damages in case of a loose fitting, or if the Console slips through the hands of the operator.

|

|
Ensure the safety bond is always attached to the Console to avoid damage.
|
Loop the safety bond through the end plate on the Upper X Beam.
B: Safety bond
C: Upper X Beam

Attach the safety bond to the Console mounting bracket using the carabiner.
D: Safety bond
E: Carabiner

Connecting the Console cable
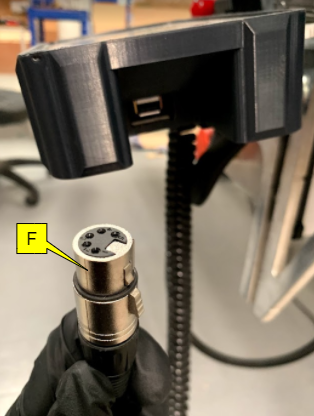
The Console cable is an XLR cable, which carries power to the cable, and signals to and from the console.
F: Console cable

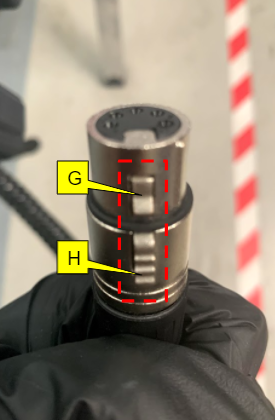
The XLR connector has a locking feature to secure it inside the socket. Pressing the button on the side of the connector will release the locking feature.
G: Internal latch.
H: Locking button.

The Console cable connects to the XLR socket located on the Upper X Beam or on the right hand side of the Console case fitting.
I: XLR socket

Position the cable connector so that the ridge on the side of the connector is aligned with the channel inside the socket.
J: Ridge on cable connector.
K: Channel inside the socket.


Plug the XLR connector into the socket.
When the connector has been fully inserted, the locking button on the side of the connector will release, and you will hear a click.
H: Locking button.

You can check that the cable is secured by gently pulling on it. If it has been fully inserted, the internal locking system will hold it in place.

Disconnect the Console cable
To disconnect the Console cable, simply squeeze the locking button on the side, and pull the cable out.
H: Locking button.


< Previous | List | Next >