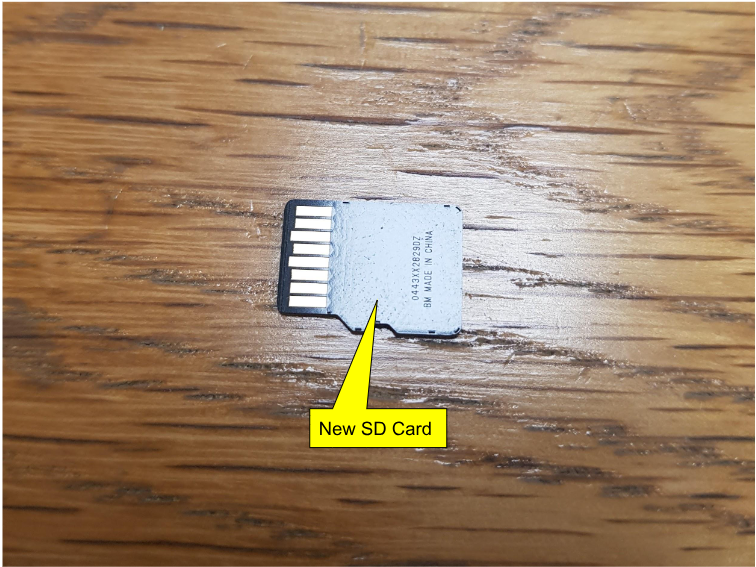
This article is only applicable if you have been sent out a replacement SD Card CS0003 - CS2053
|

|
As with any electrical items, all work you carry out on SmartBench should be performed in a clean environment to avoid any debris getting into components and potentially causing damage.
|
First remove your console from your Smartbench and place it screen down onto a flat (preferably soft) surface ensuring that there is nothing on the surface that could scratch or damage the screen. We recommend laying it down on a microfiber cloth.
Once the console is removed and in a suitable position start by loosening the two PZ1 screws holding the cable strain relief clamp in place.
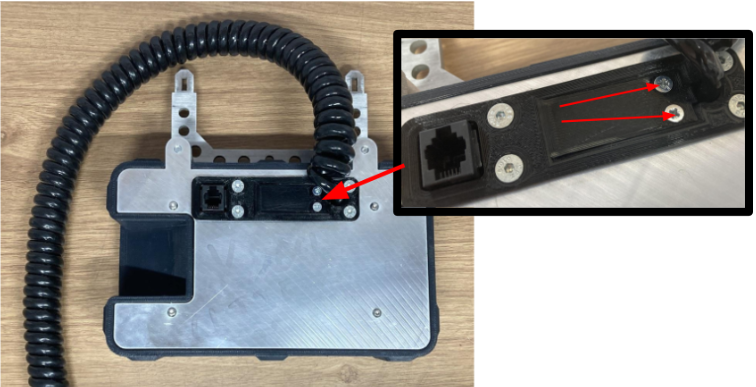
Now the screws are removed you will be able to lift the cable strain relief clamp out to reveal the connector.
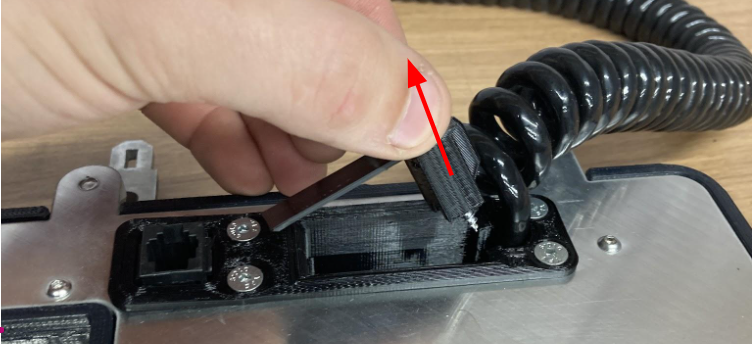
To remove the cable simultaneously press down on the retaining clip and pull the cable out.
Next, remove the four screws with your 2mm Hex Driver.
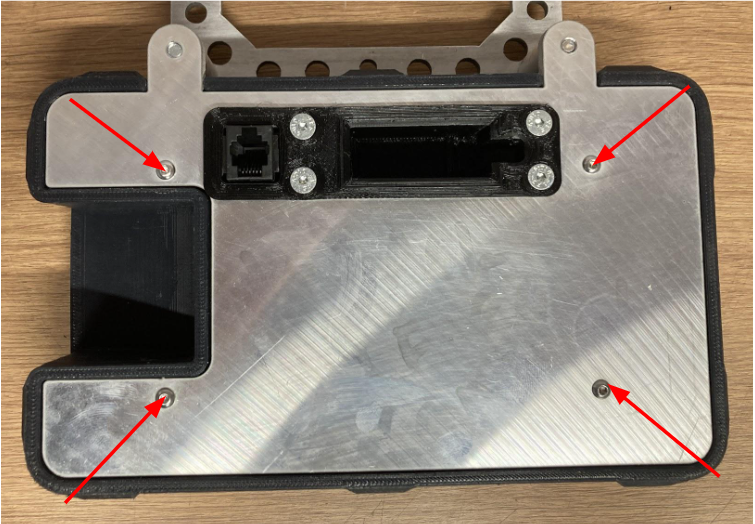
With the screws removed you should now be able to lift the case and back plate off as one piece.
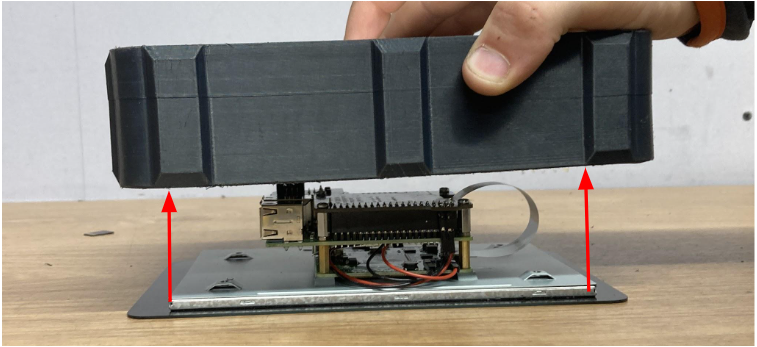
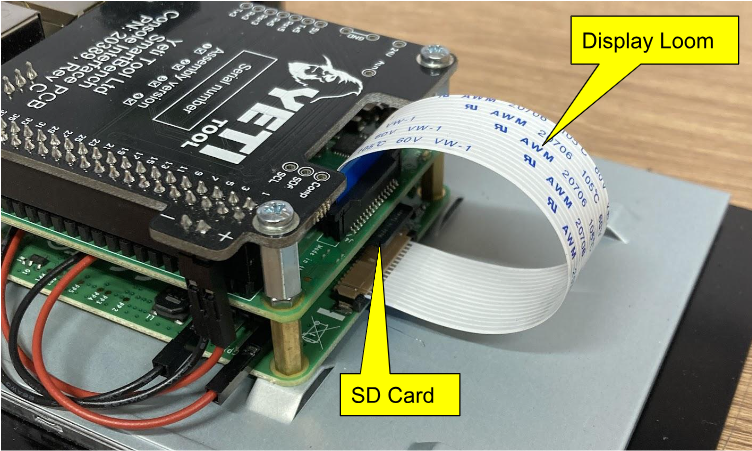
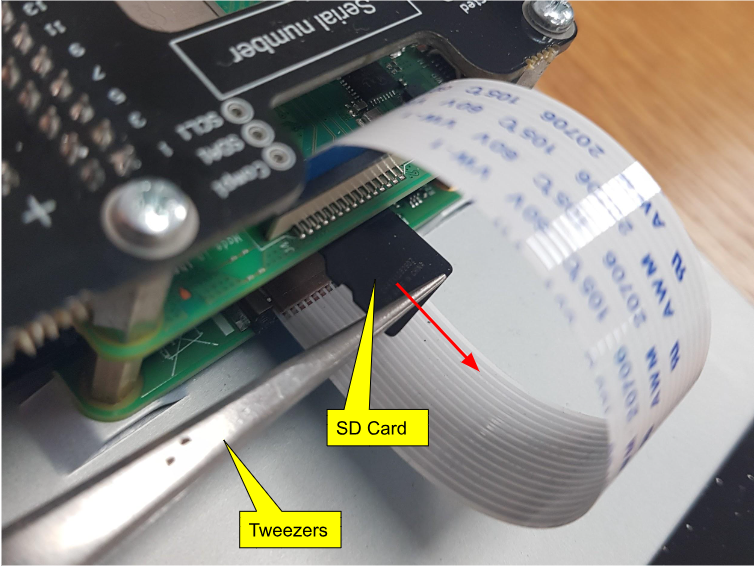
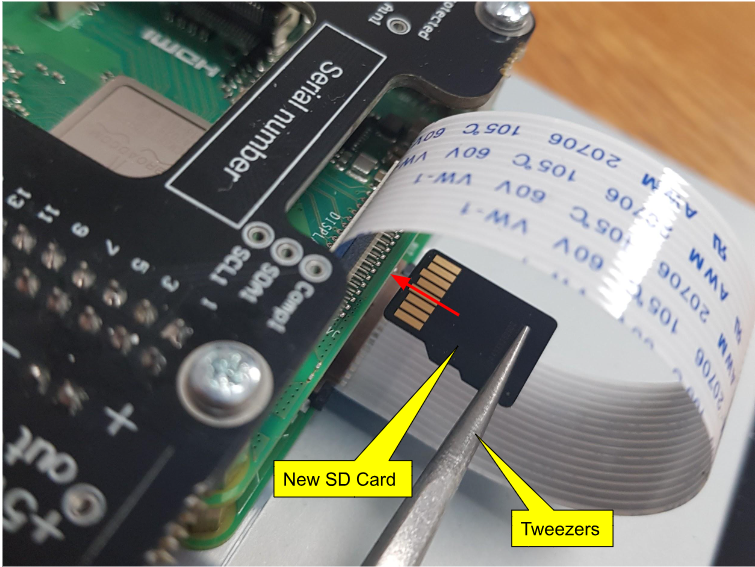
You can now access the SD card. The SD card is located behind the display loom on the RaspberryPi (the middle PCB in the stack). You may need a pair of tweezers to make removal/installation easier.
Now that the SD card is replaced you can reassemble the console. Start by placing the case and back plate back over the screen and inserting the four bolts into their holes.

At this point you will need to pick the console up and gently squeeze the screen and back plate together to allow the bolts to engage.
Tighten the four bolts with your 2mm Hex Driver taking care not to over tighten them to avoid stripping the threads in the rear of the screen.
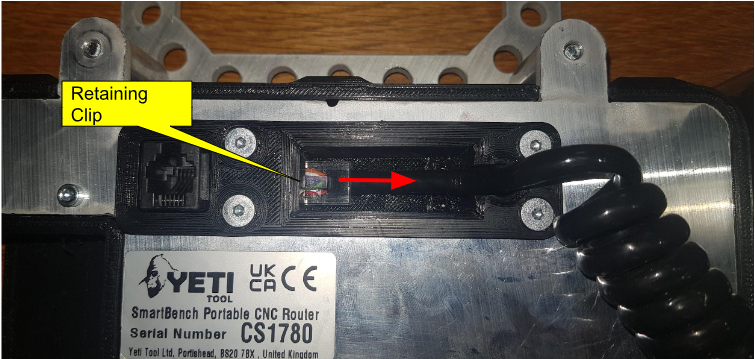
Insert the cable into the socket ensuring that it is going in straight and that it is in the correct orientation; if correct the retaining clip will be facing out towards the rear of the console.
Push the cable flat against the bottom of the housing and replace the strain relief clamp. Take care not to overtighten this as it is easy to strip the threads in the plastic housing.