Z-Head - Laser and Loom replacement
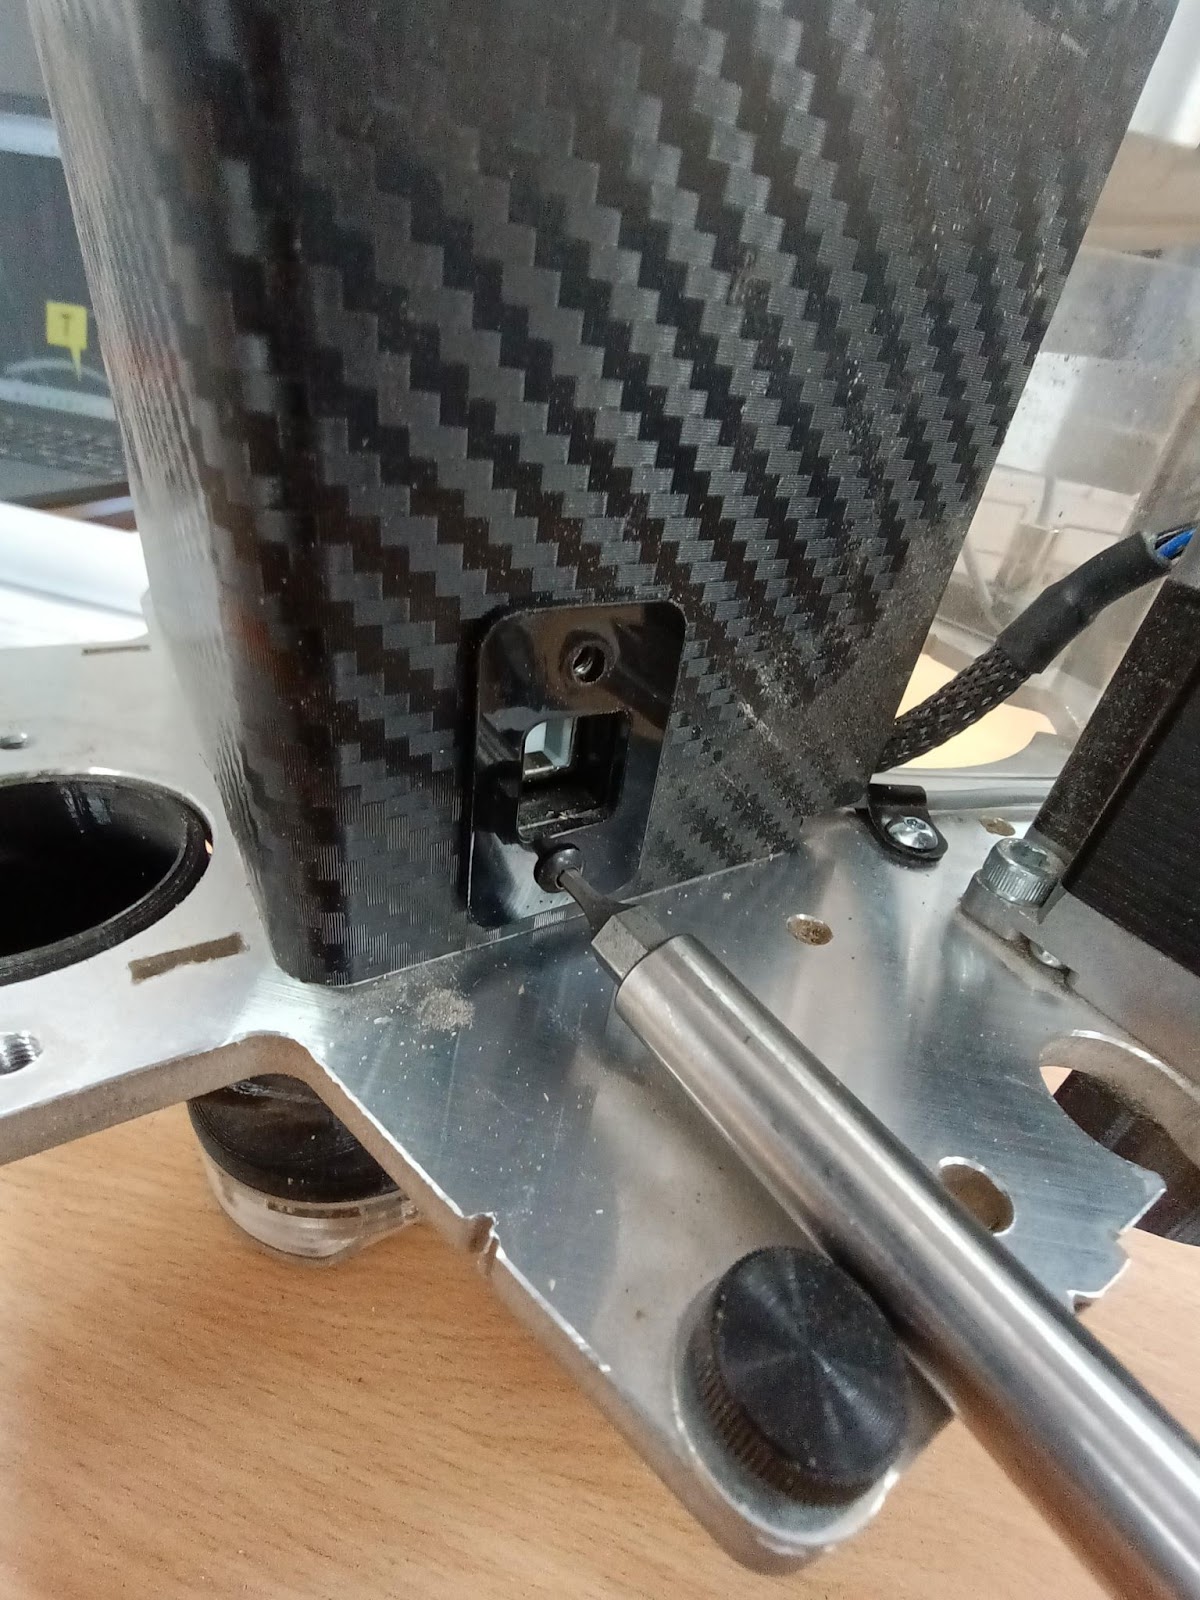
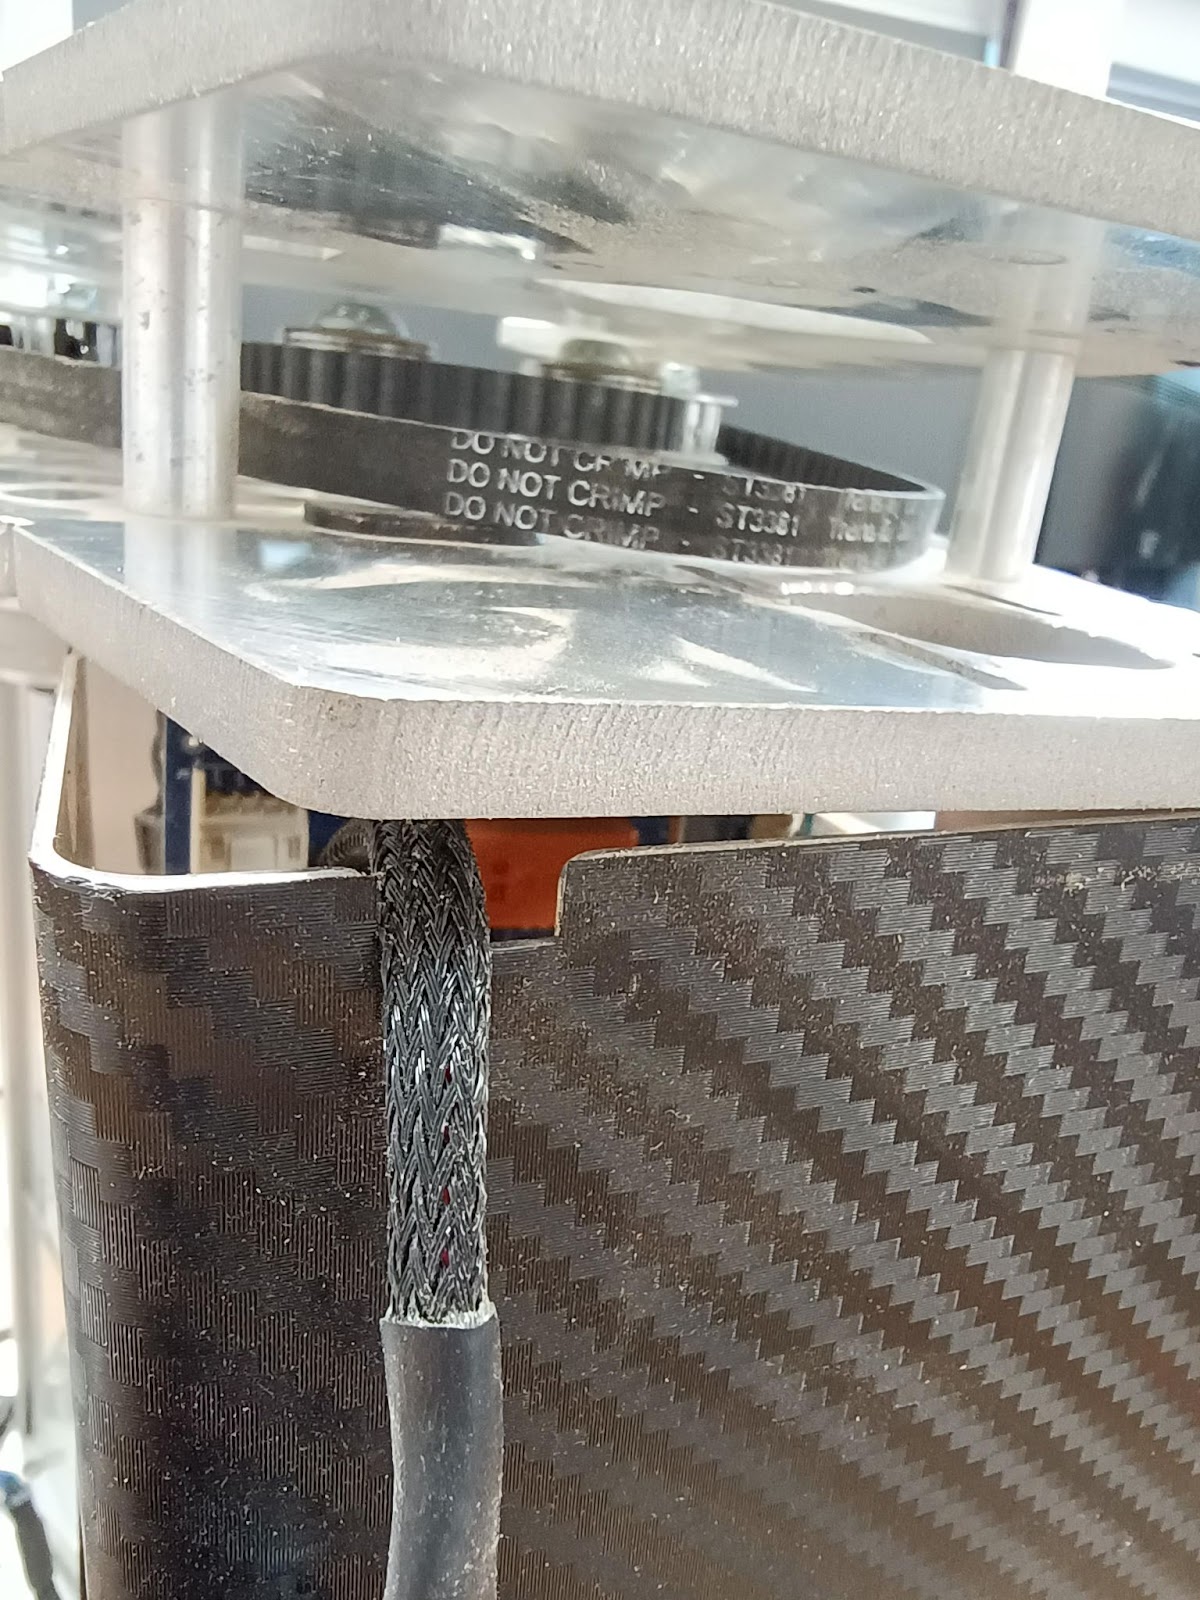
Step 1 - Unplug the Z-axis Probe Plate and Remove
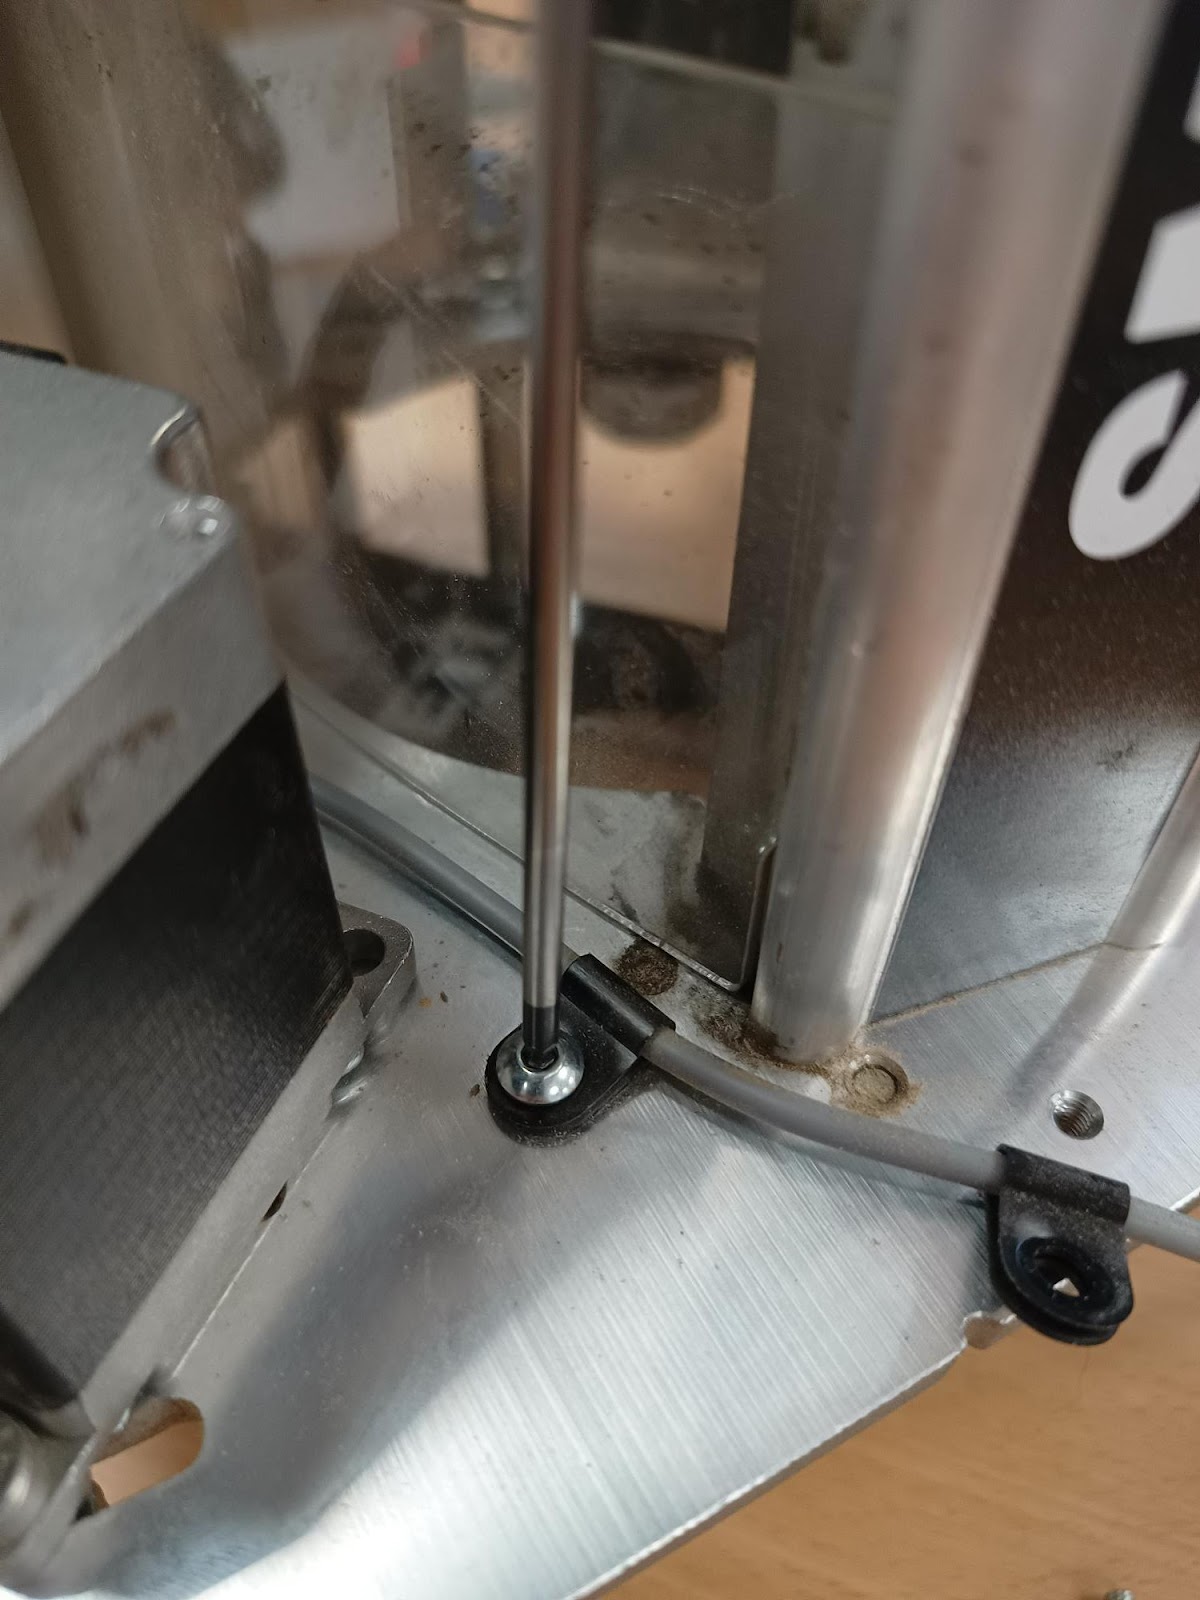
Unplug the Z-Axis probe plate, remove and place out of the way
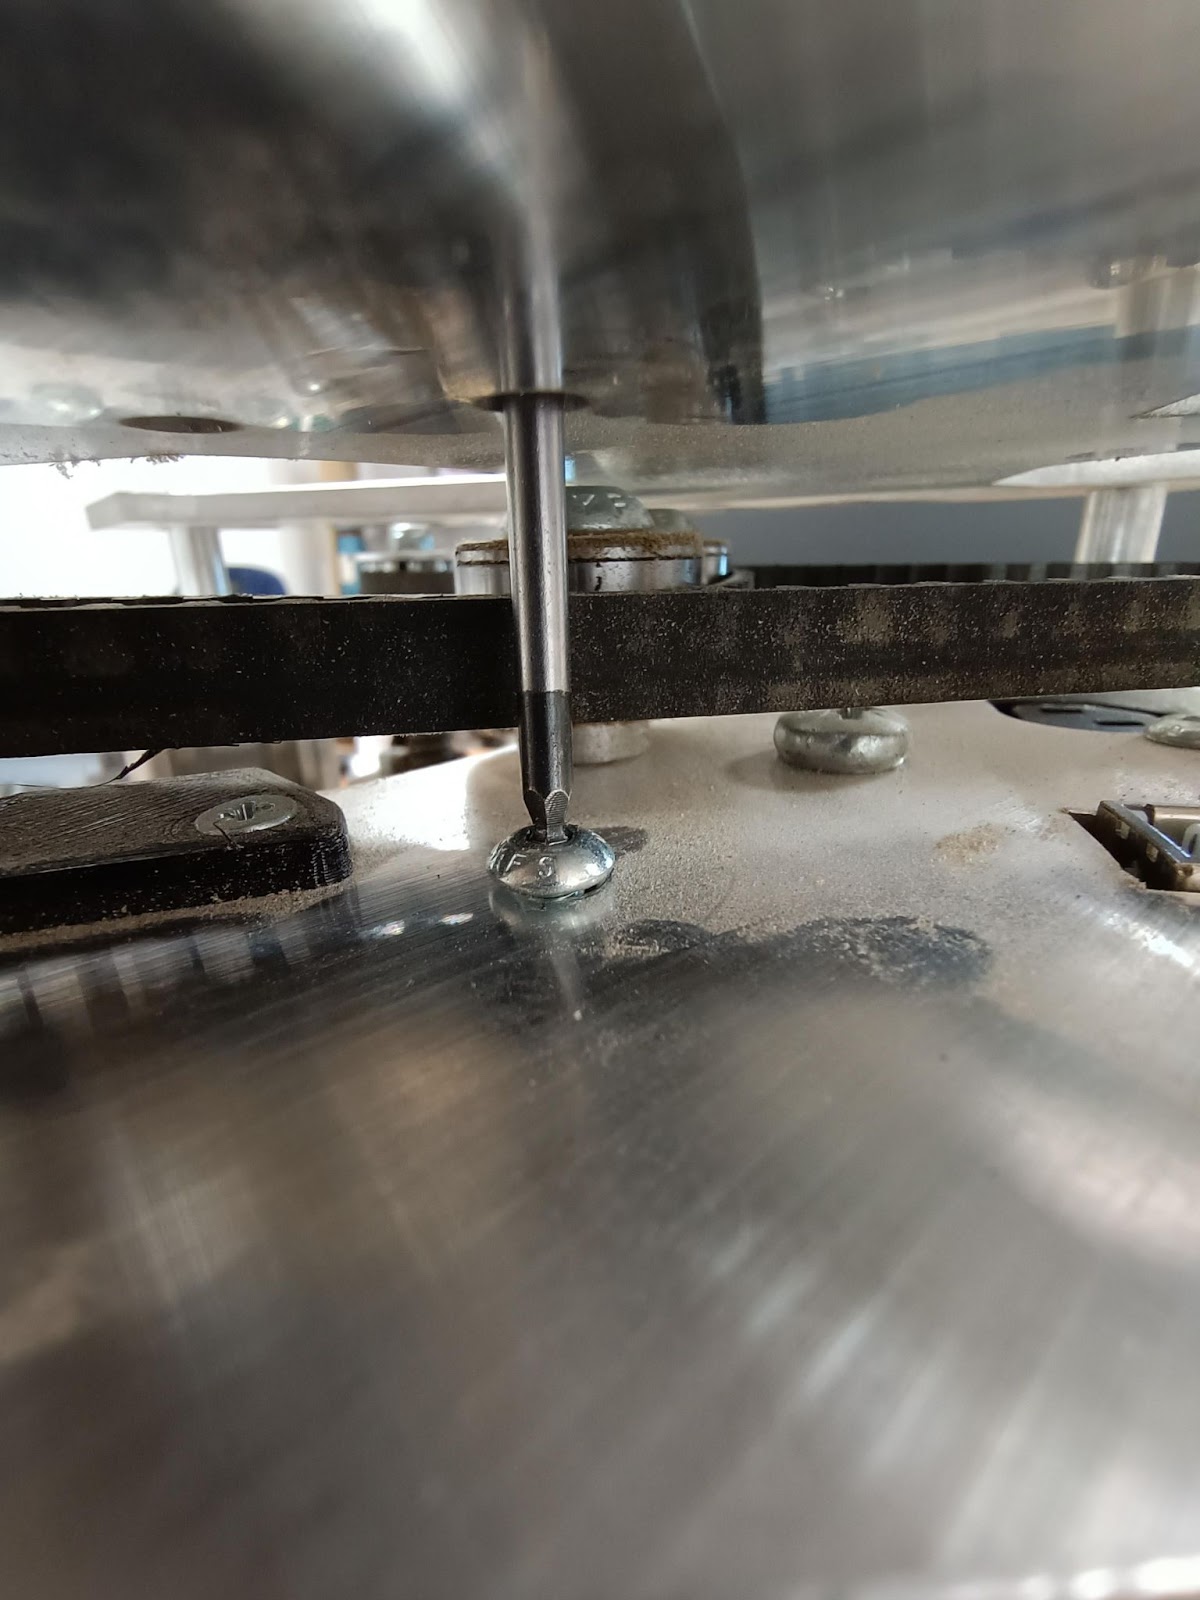
Step 2 - Remove Casing top screws
Remove the two case top screws located near the Z axis motor
There are two screws in total, one either side, accessed through the top plate.
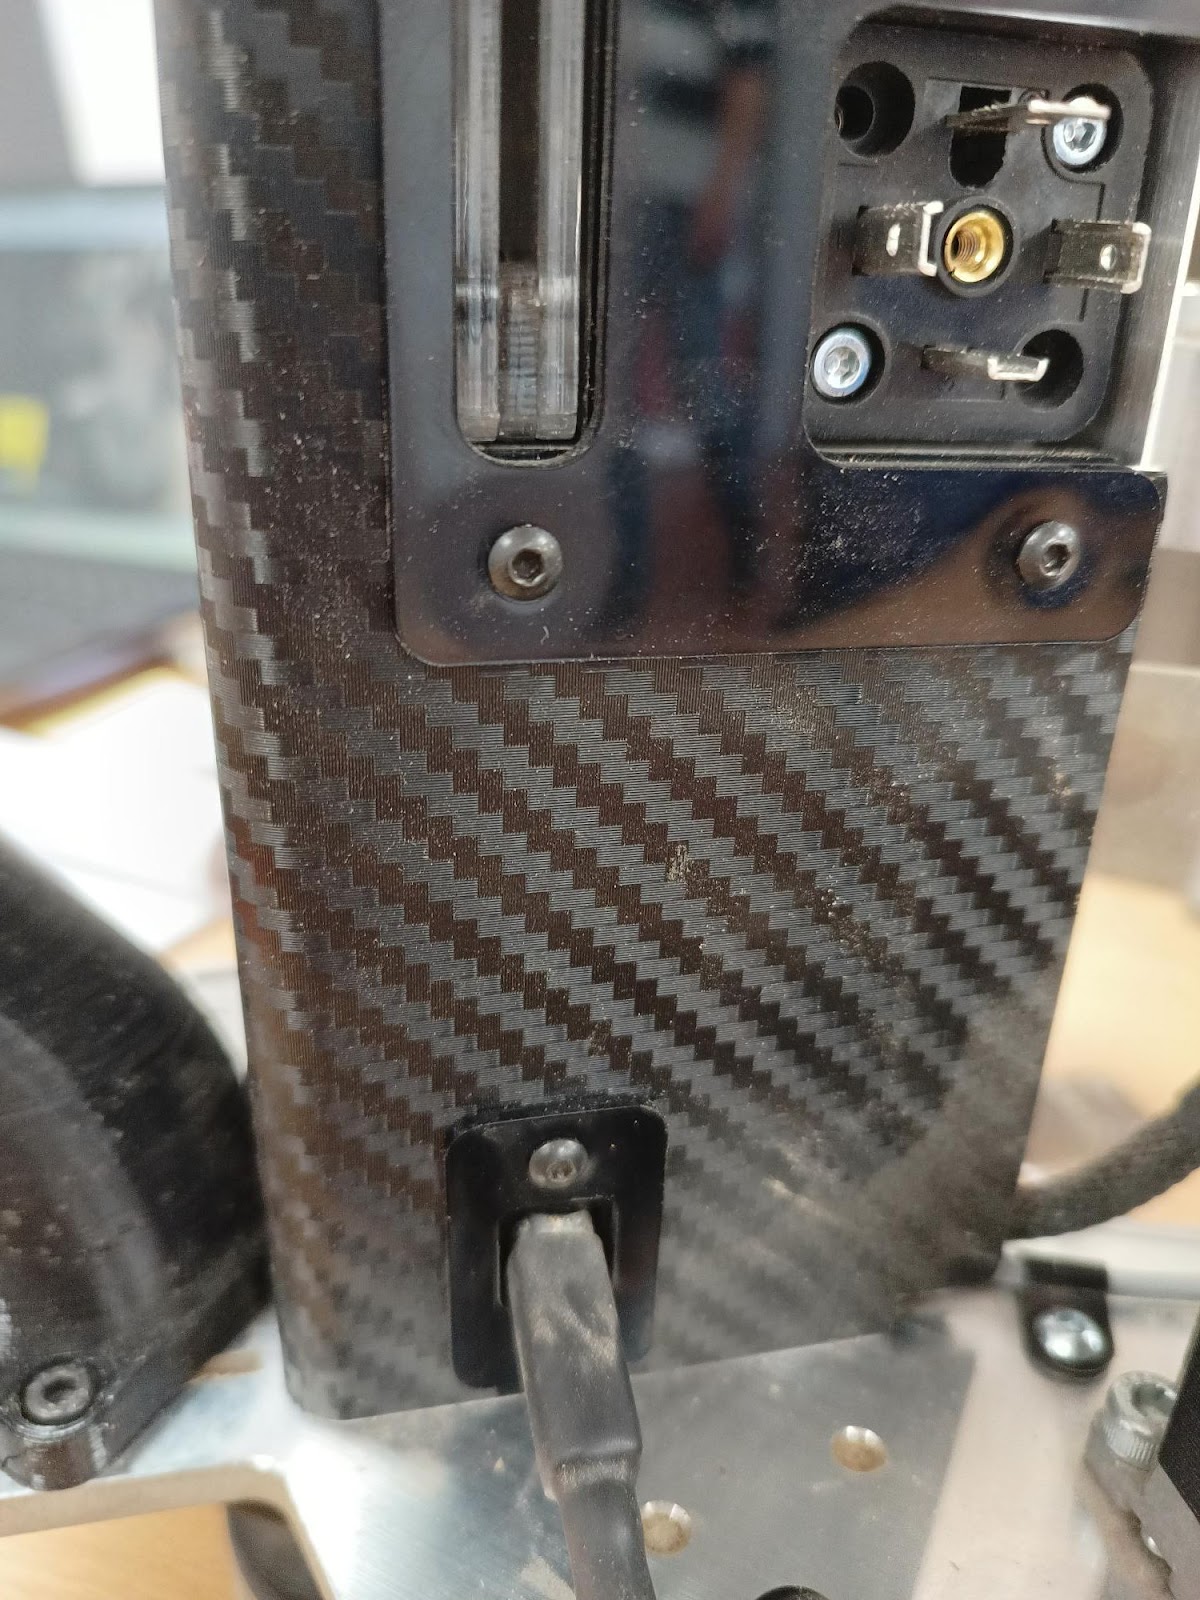
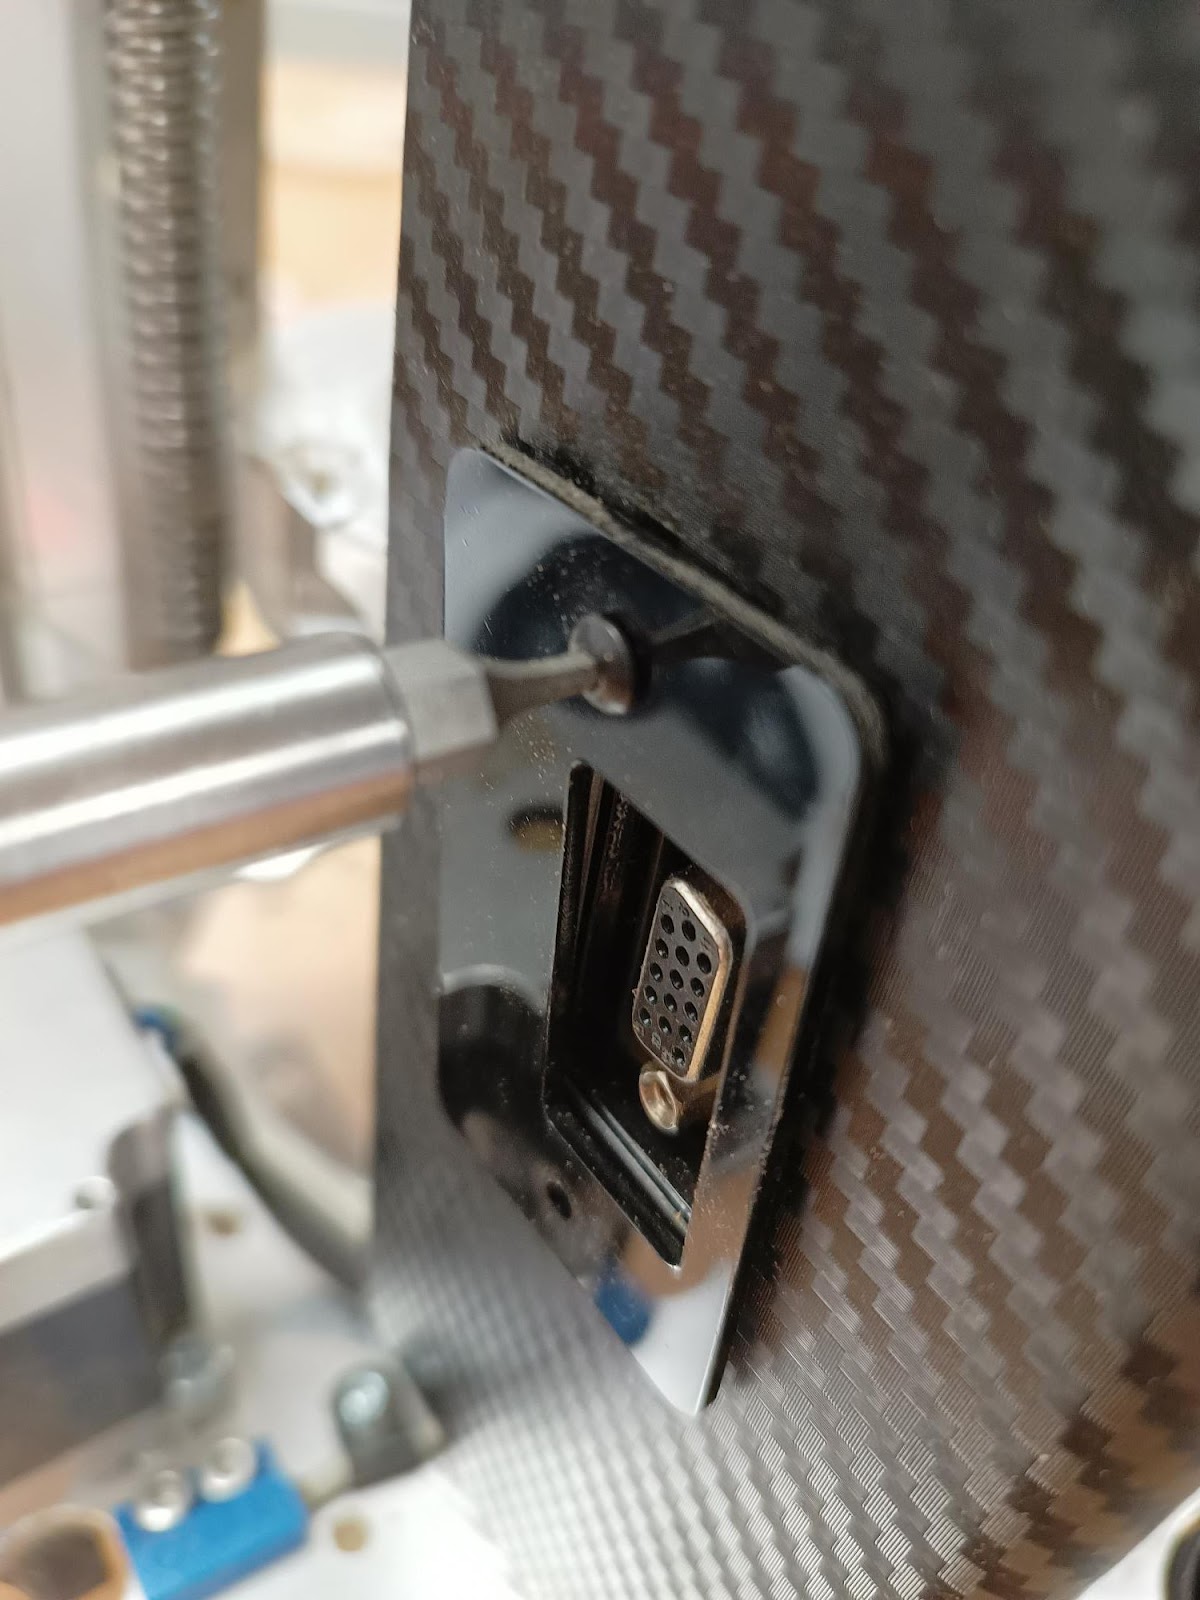
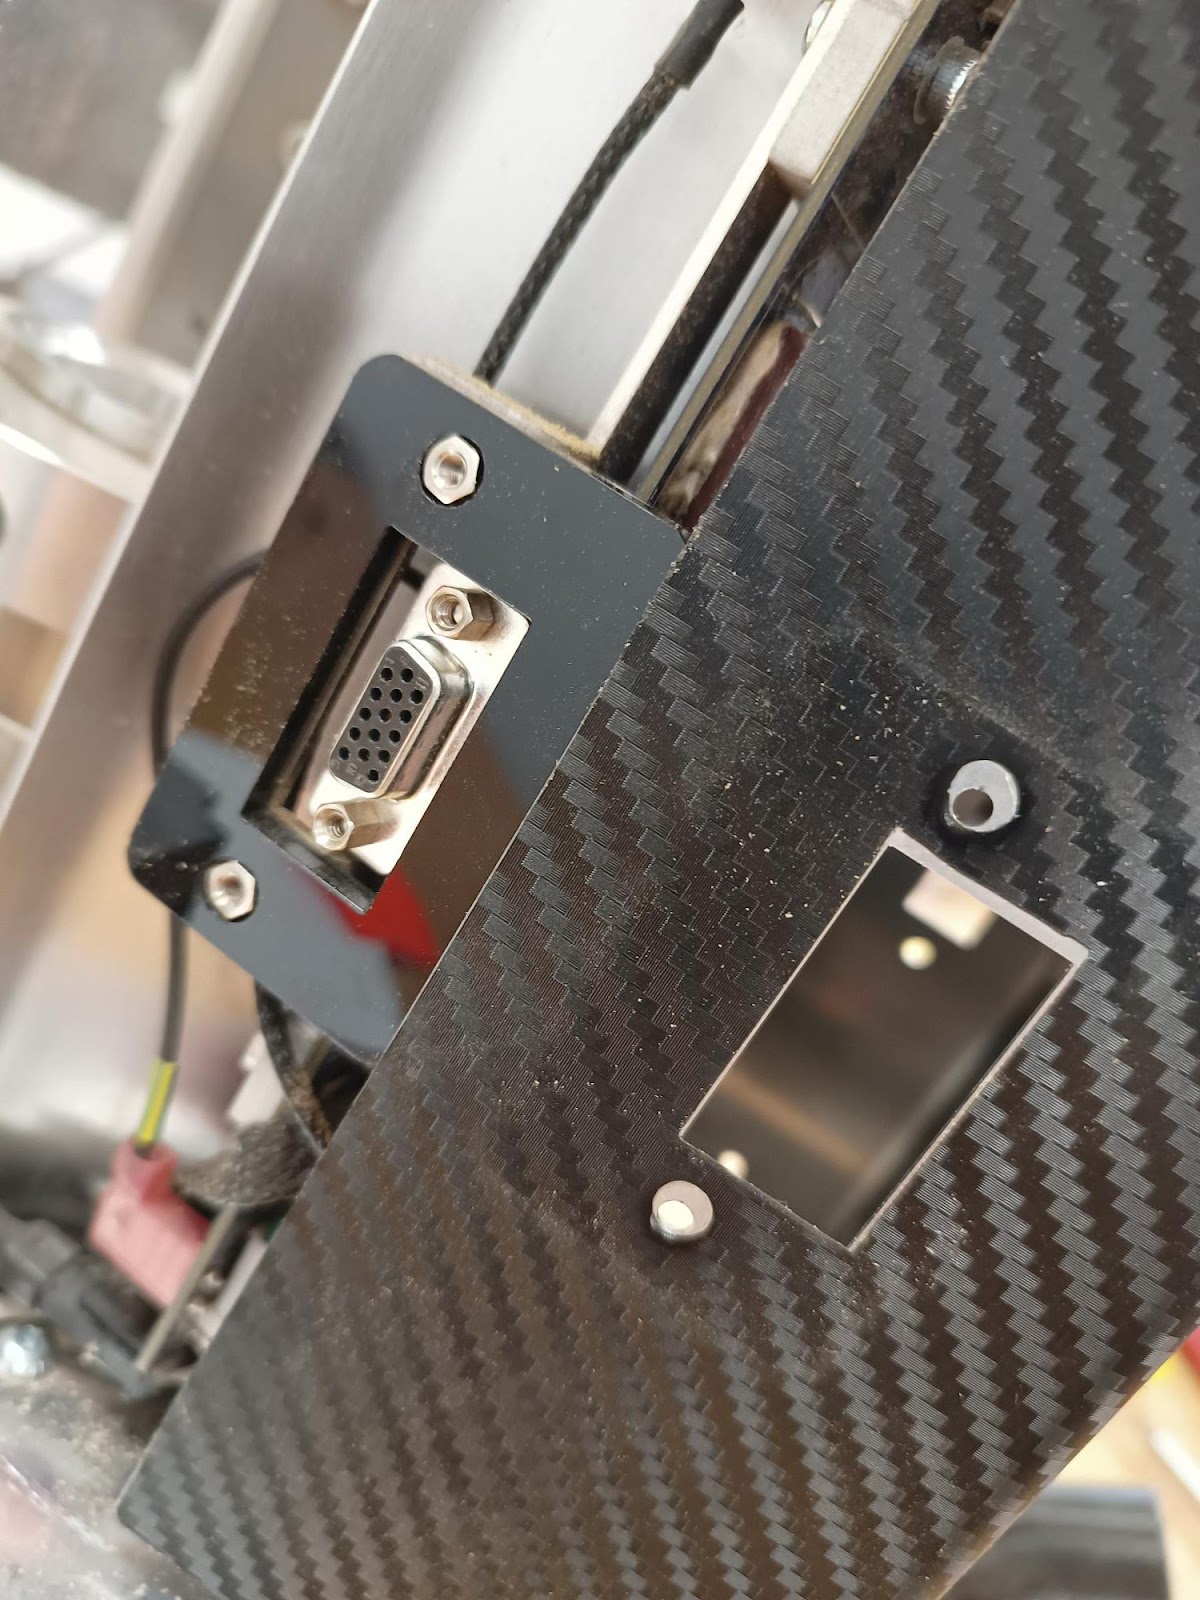
Step 3 - Unscrew and remove three connector frames
Remove the three Z head case connector plastic frames
There are eight screws in total, six on one side and two on the other

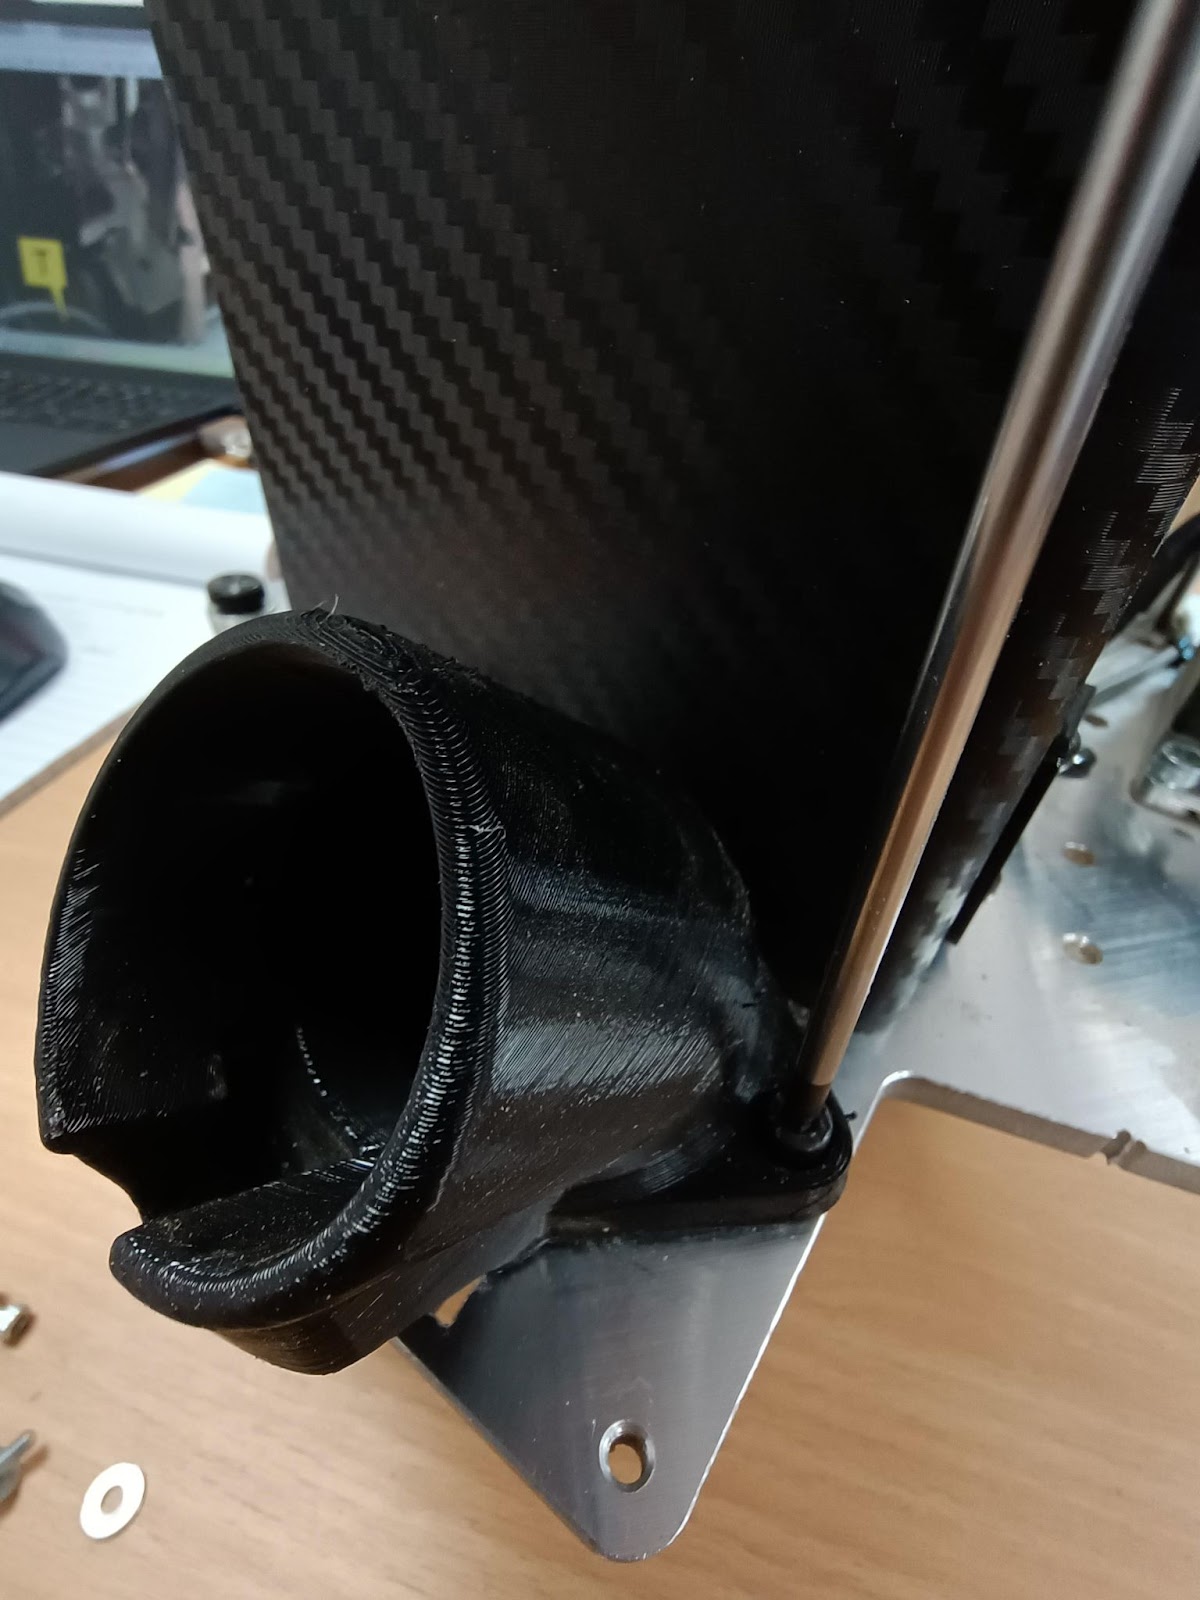
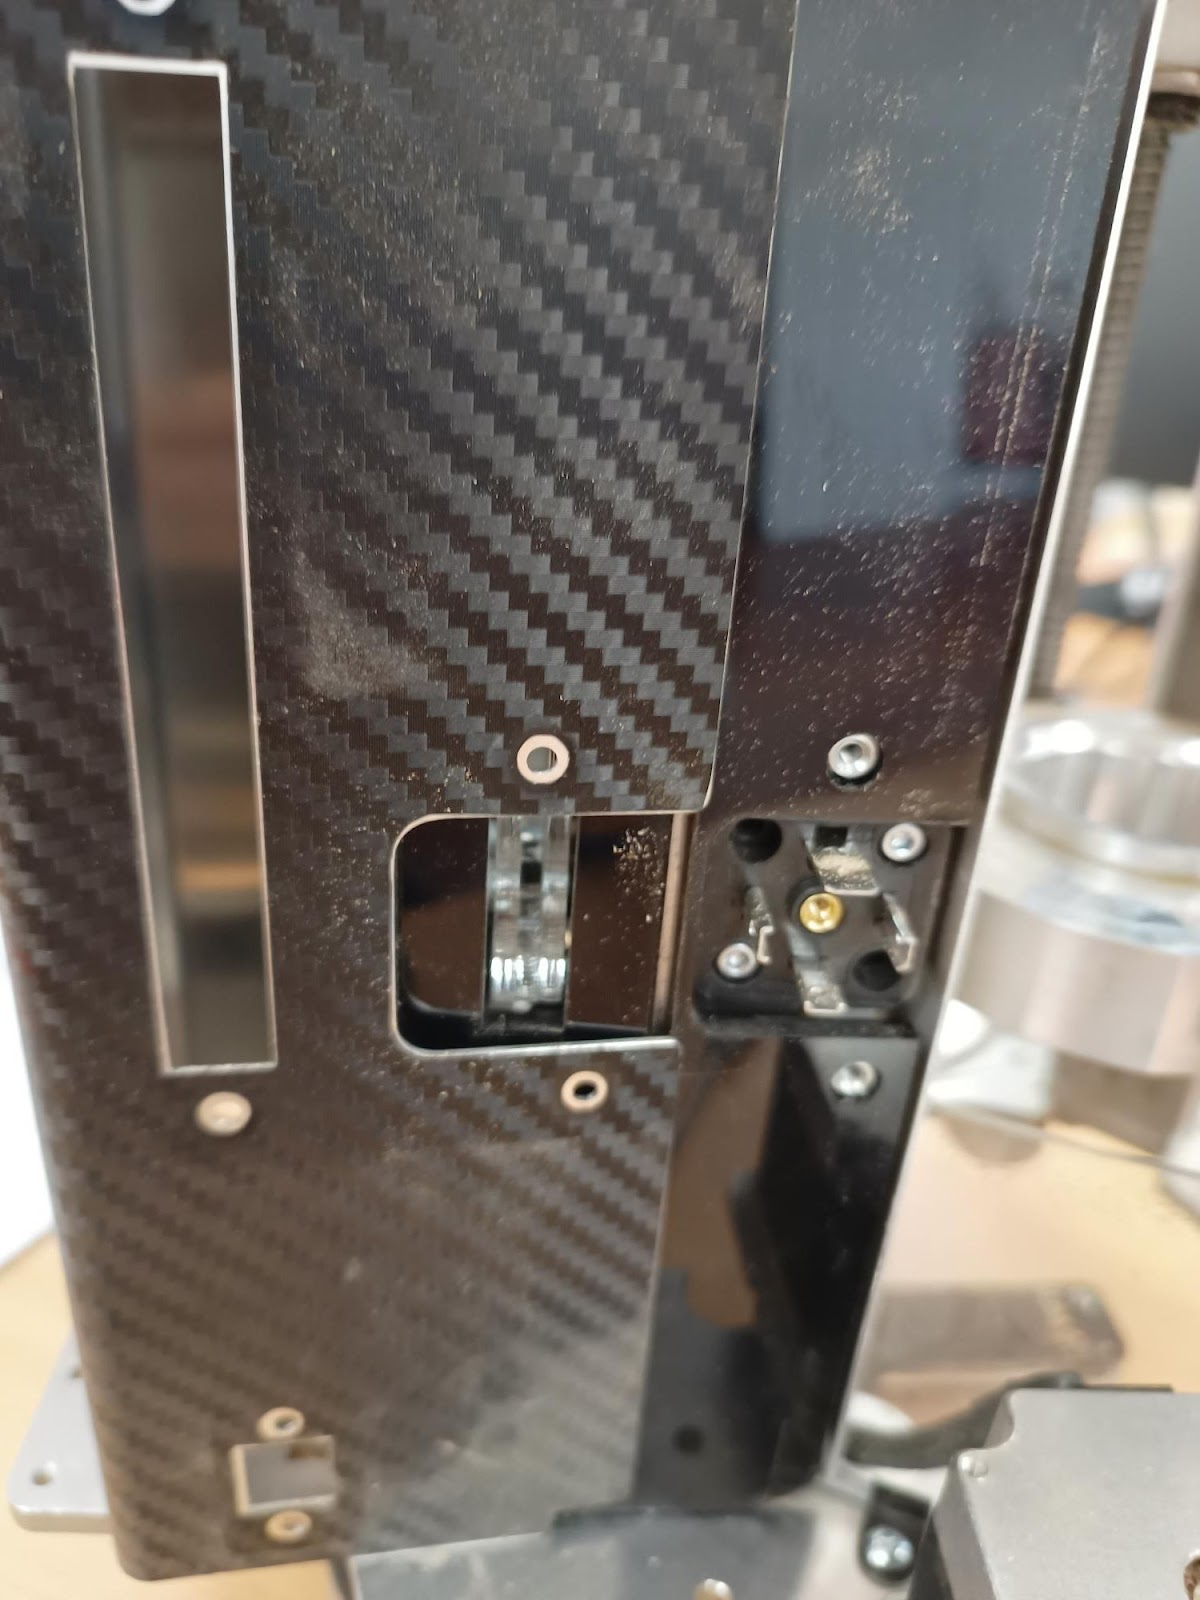
Step 4 - Unscrew and remove Z-Head extraction elbow
Two screws in total, lifts upwards. Careful with the removal and reinstallation of the screws not to damage the plastic elbow.
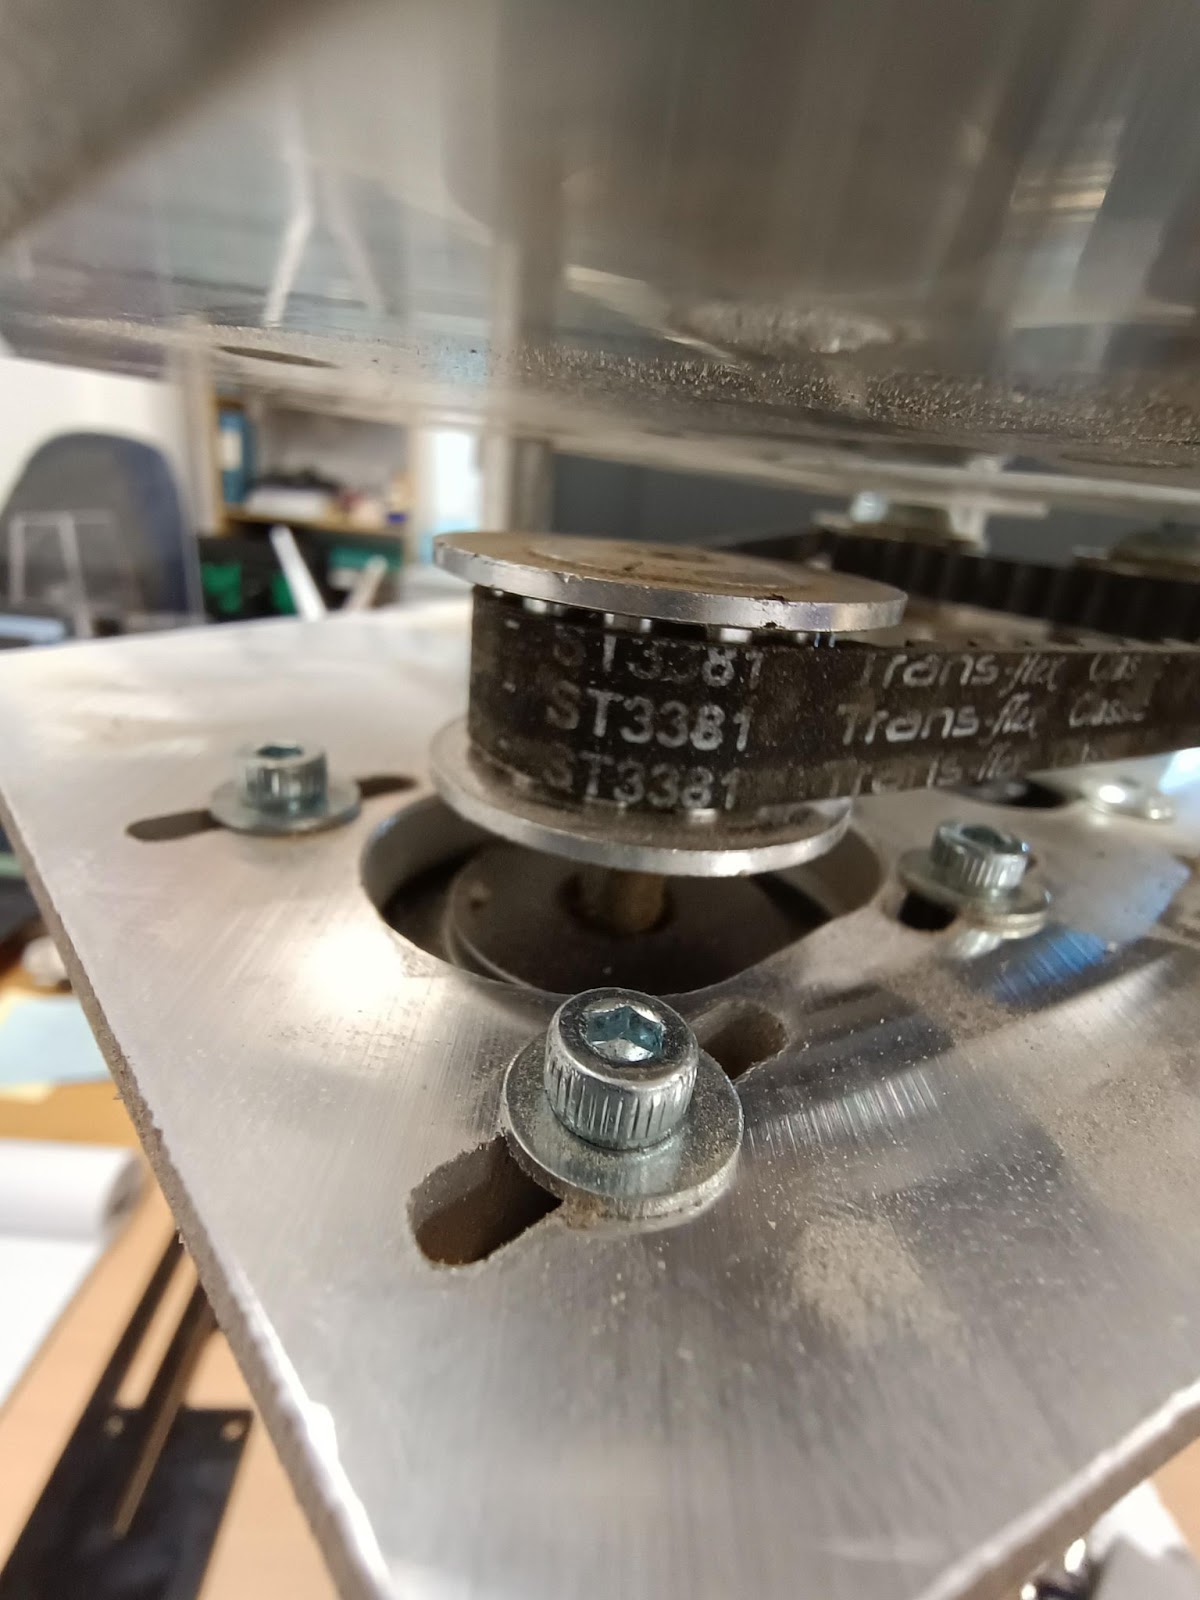
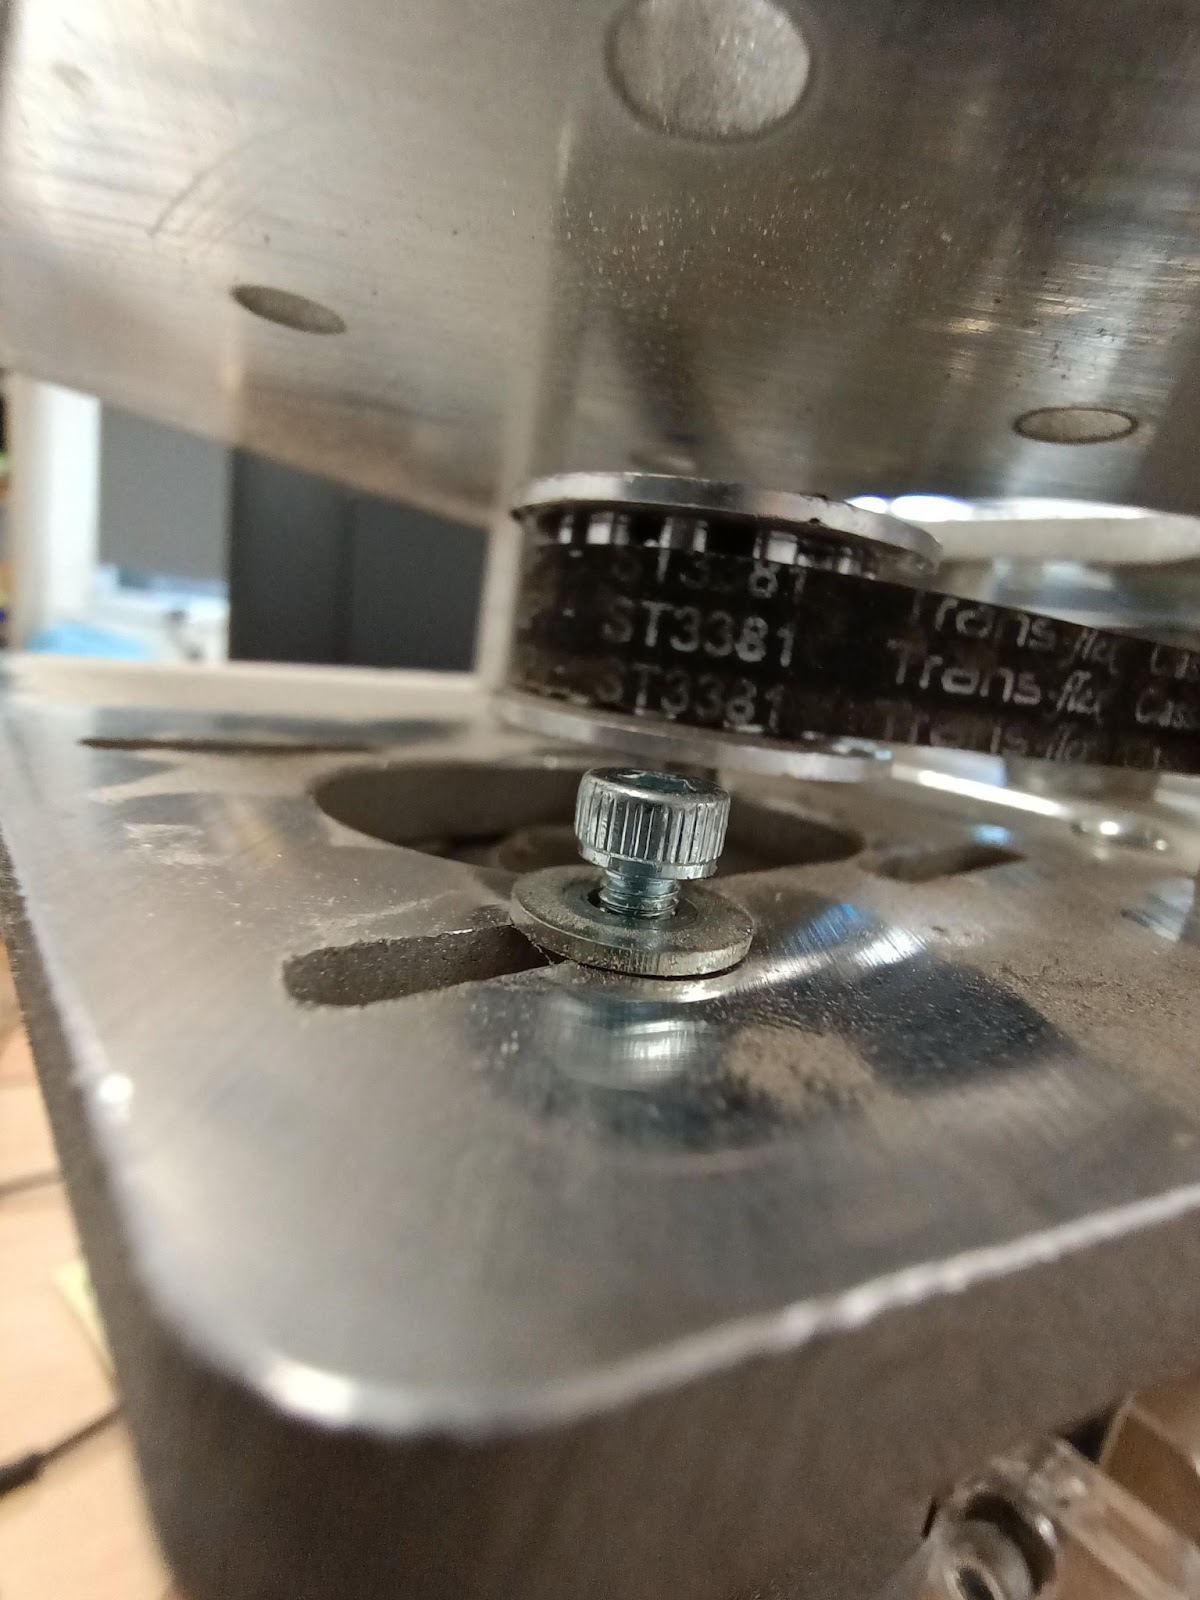
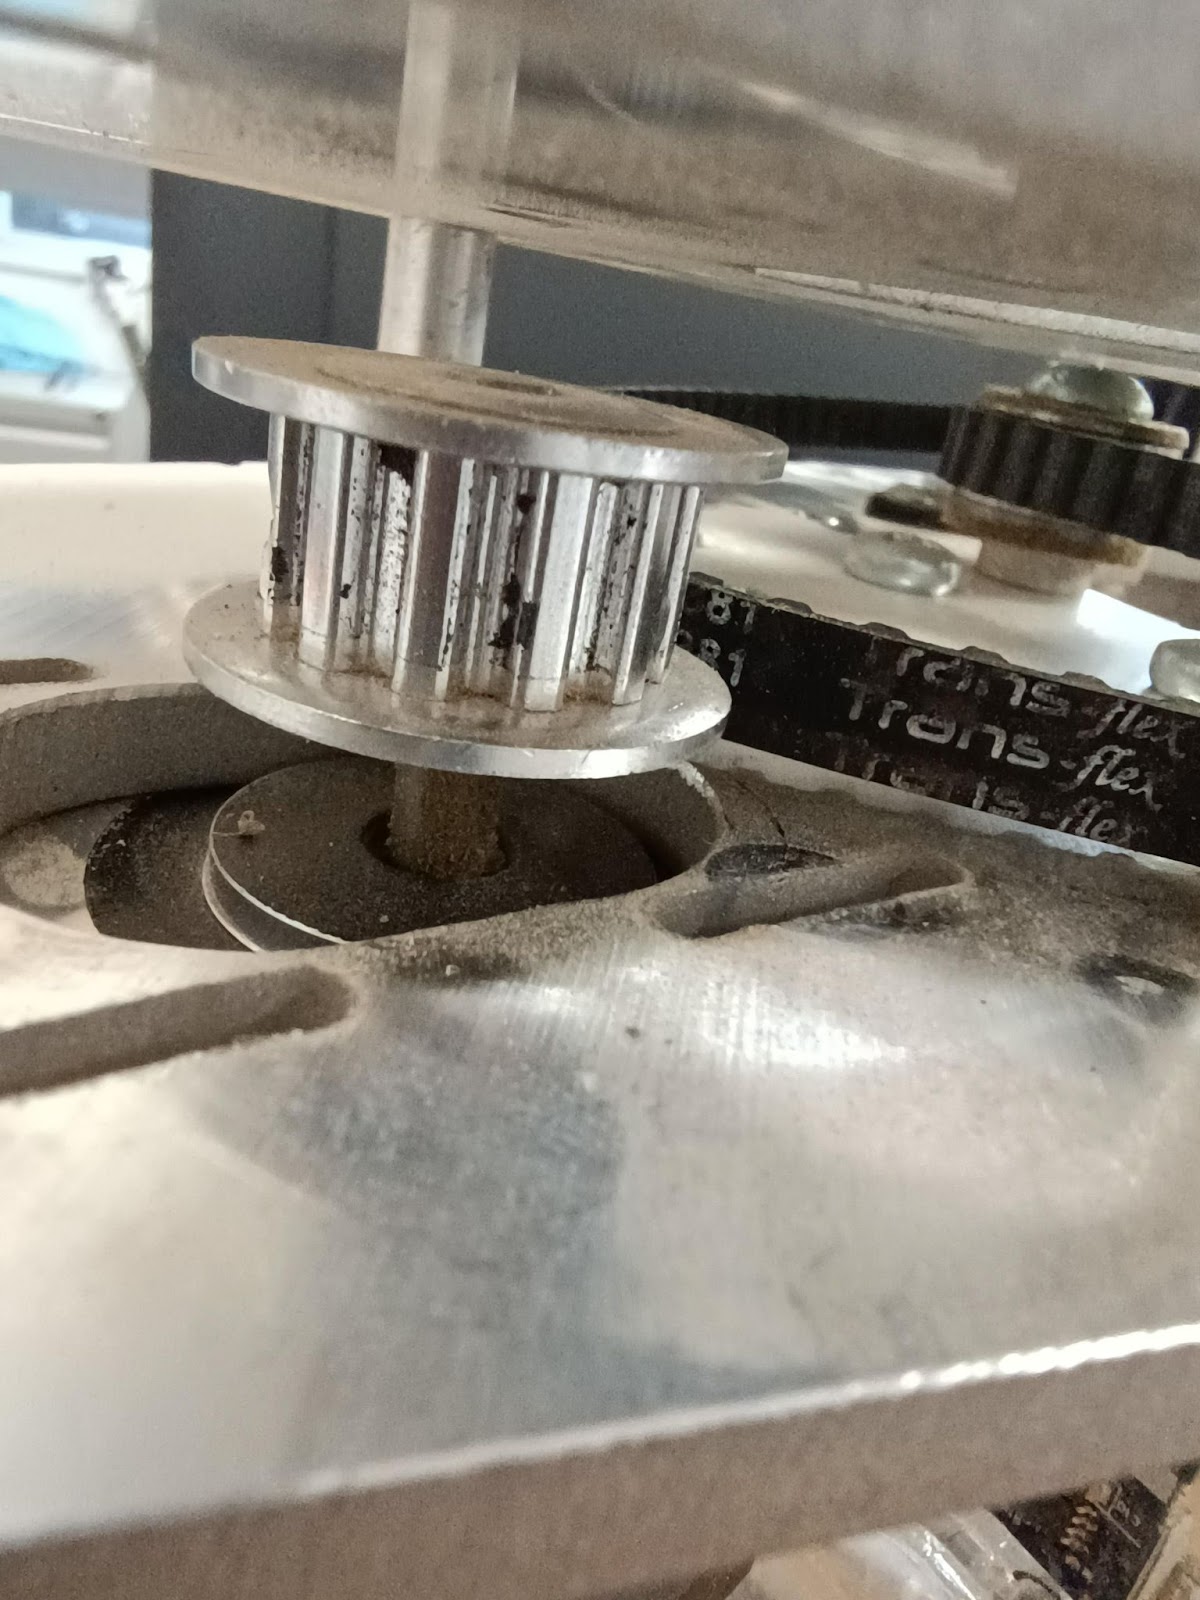
Step 5 - Unscrew and remove Z-axis motor
*Note this process can be made easier by removing the top plate with the four screws on the top*
Note the placement of the Z-Axis motor screws, this may be visible on the metal after removal but is best practice to note location so the belt is reinstalled to the correct position
Four screws hold this on, accessed through the top plate.
Only move the belt after the motor has been removed to prevent damage.
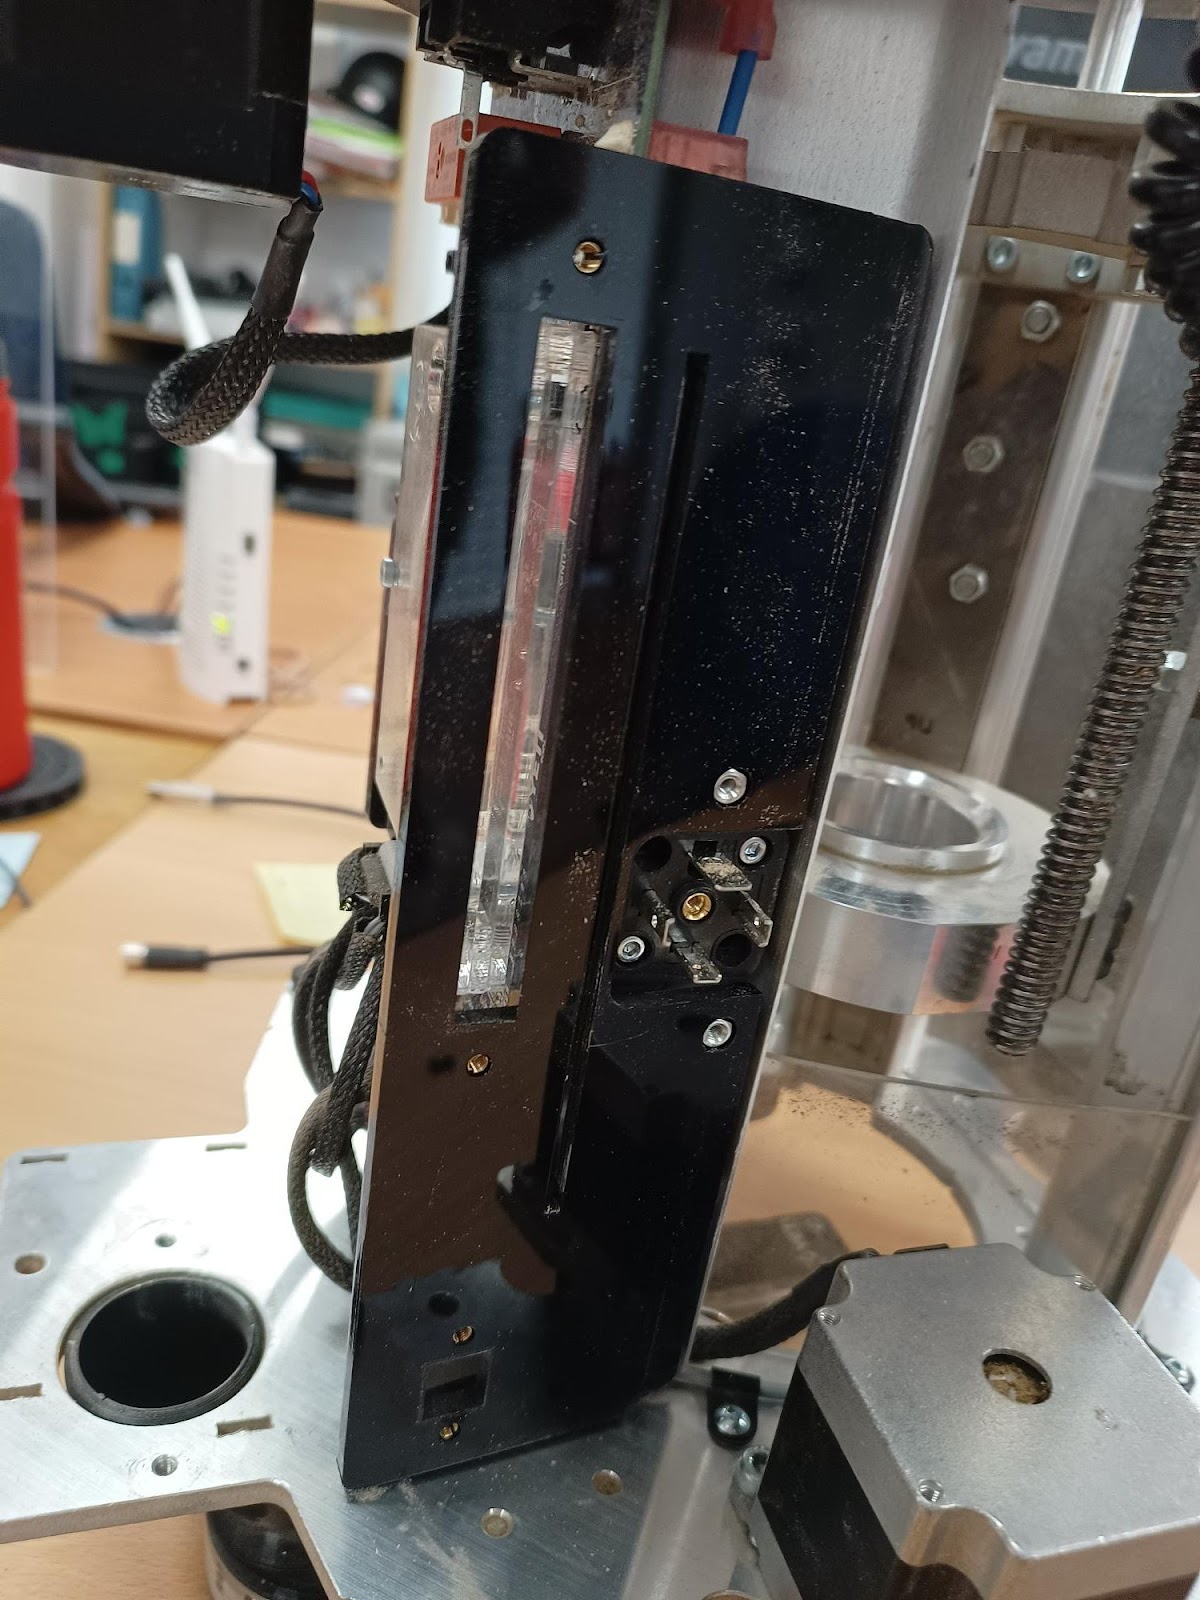
Step 6 - Remove the Z-head casing
This needs to be removed carefully, it may require slight pulling at either side to clear the frame.
Ensure the existing cables are not damaged upon removal.
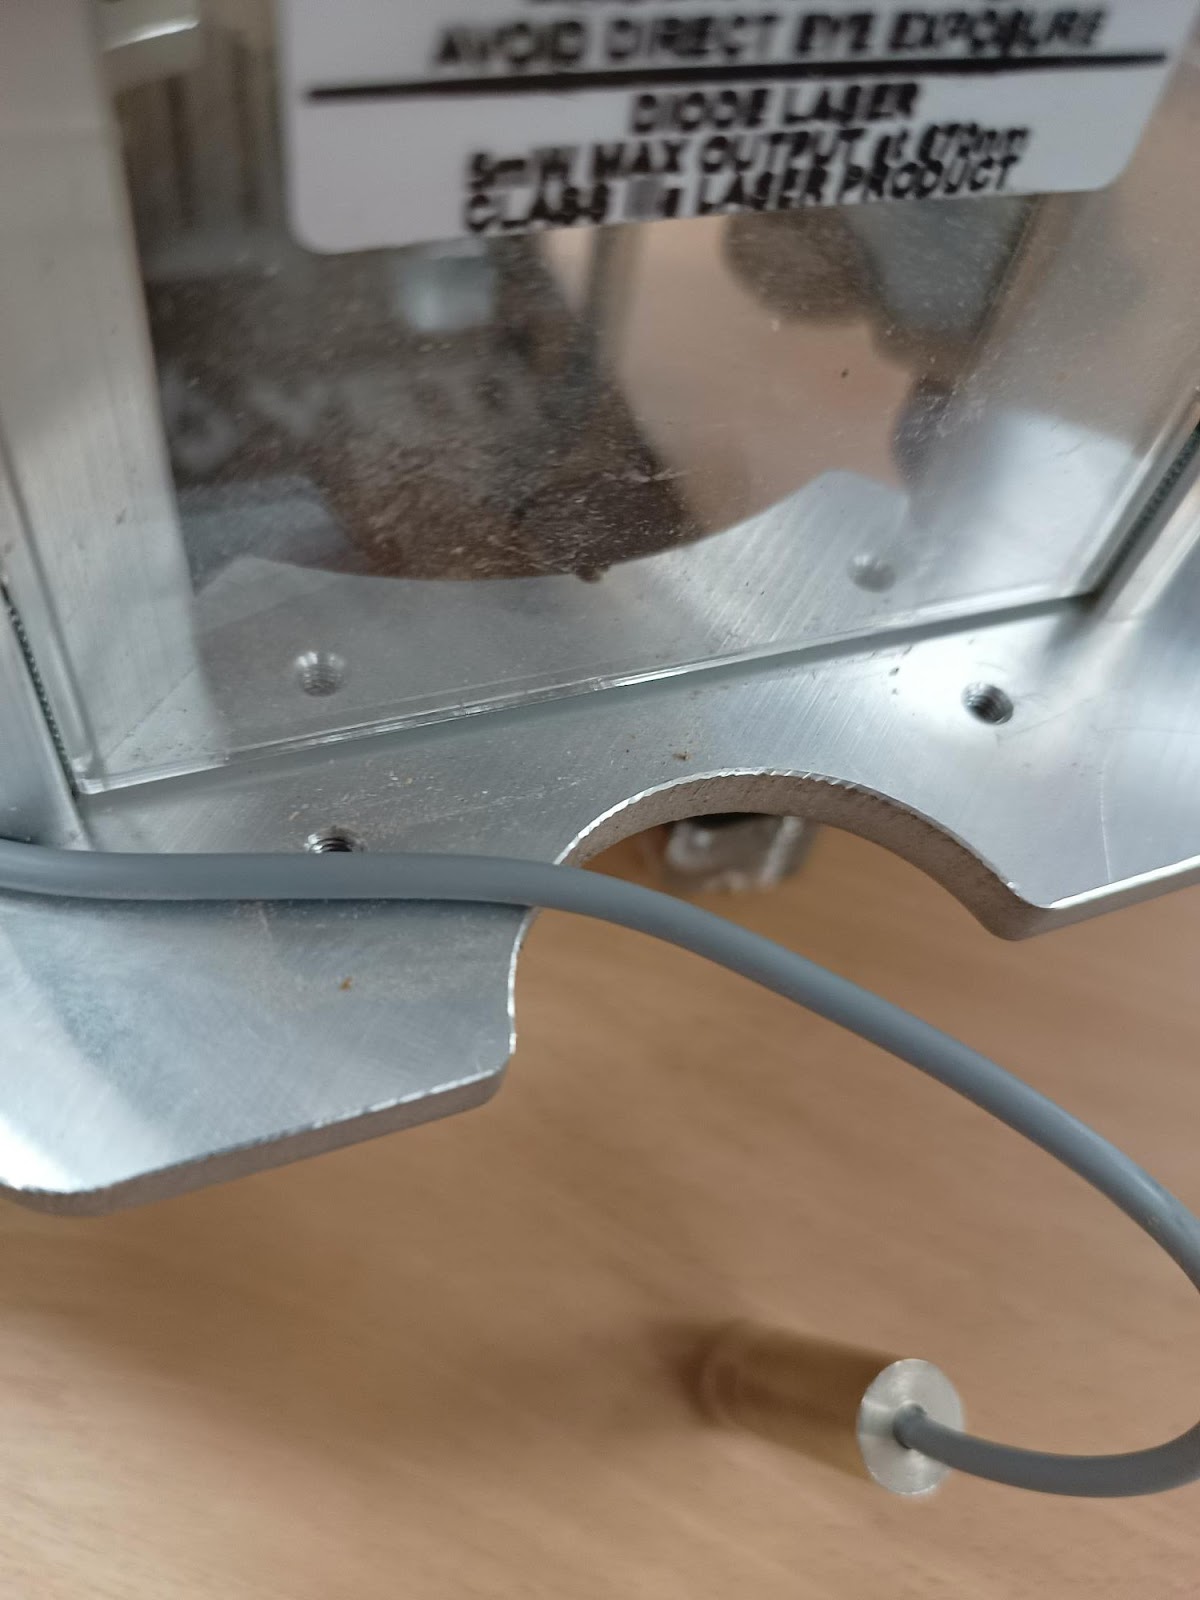
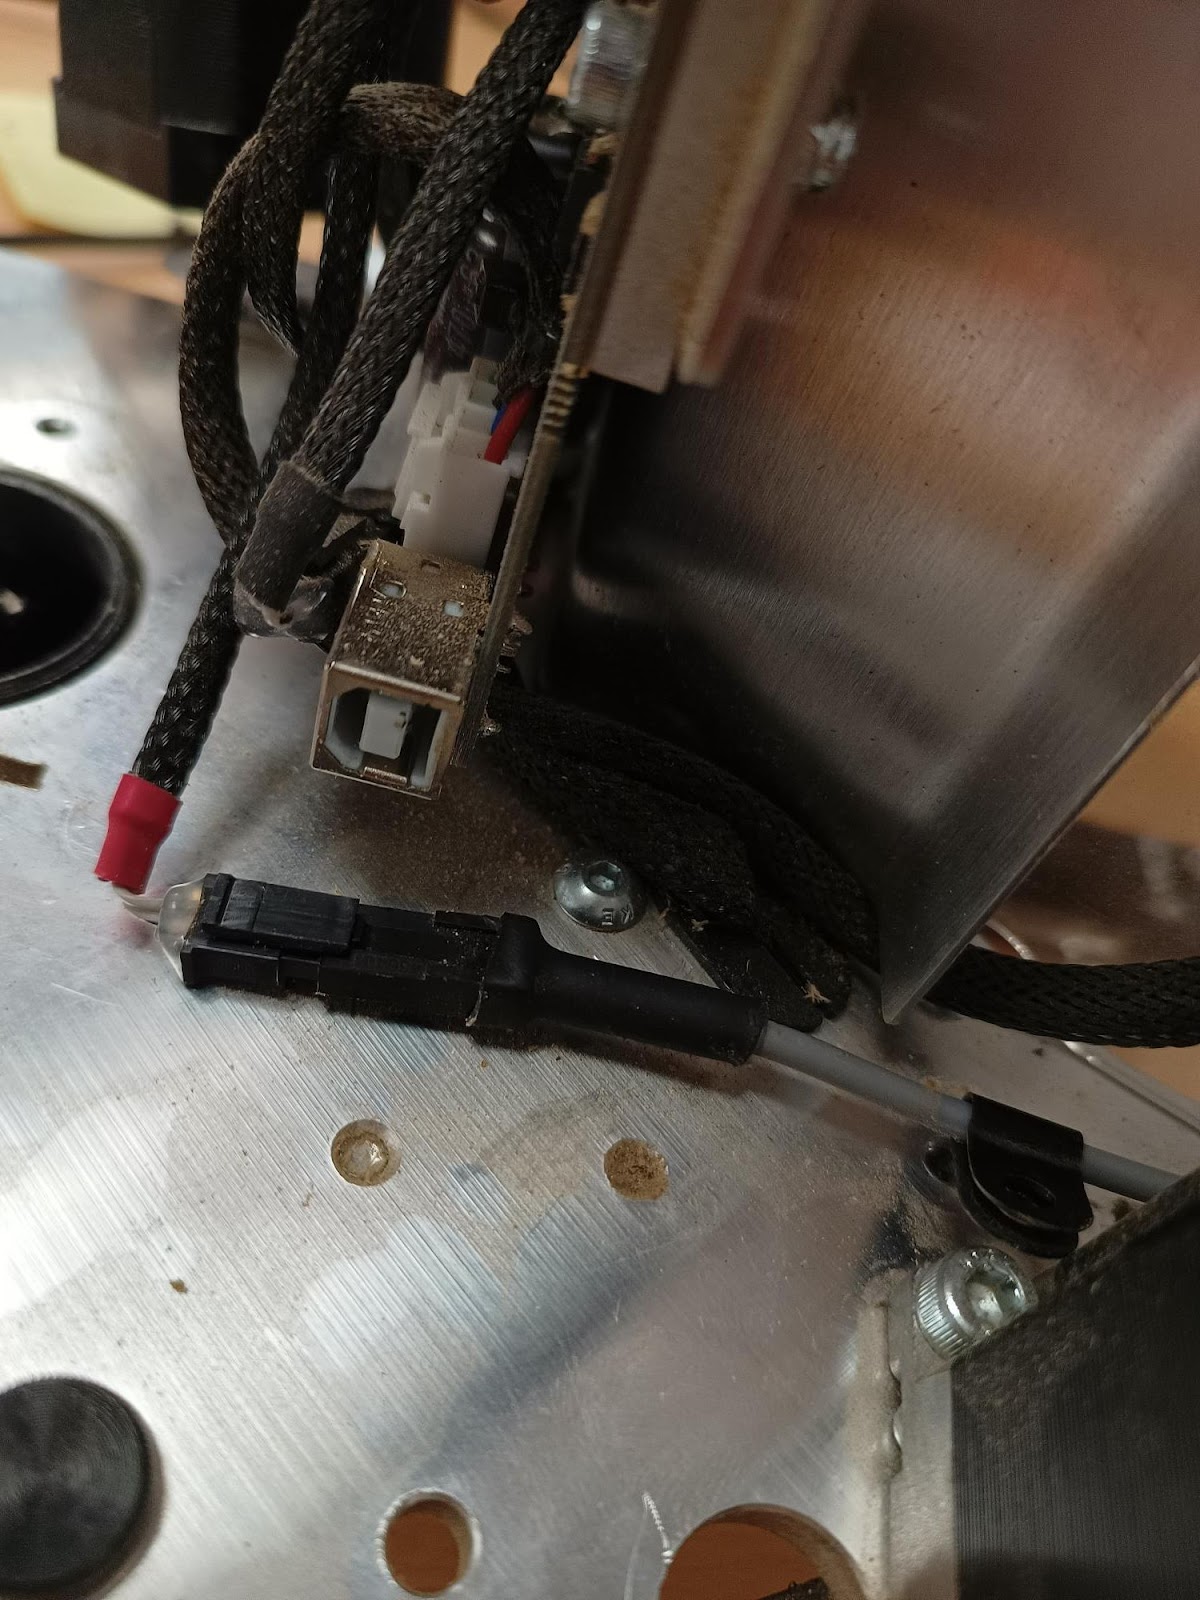
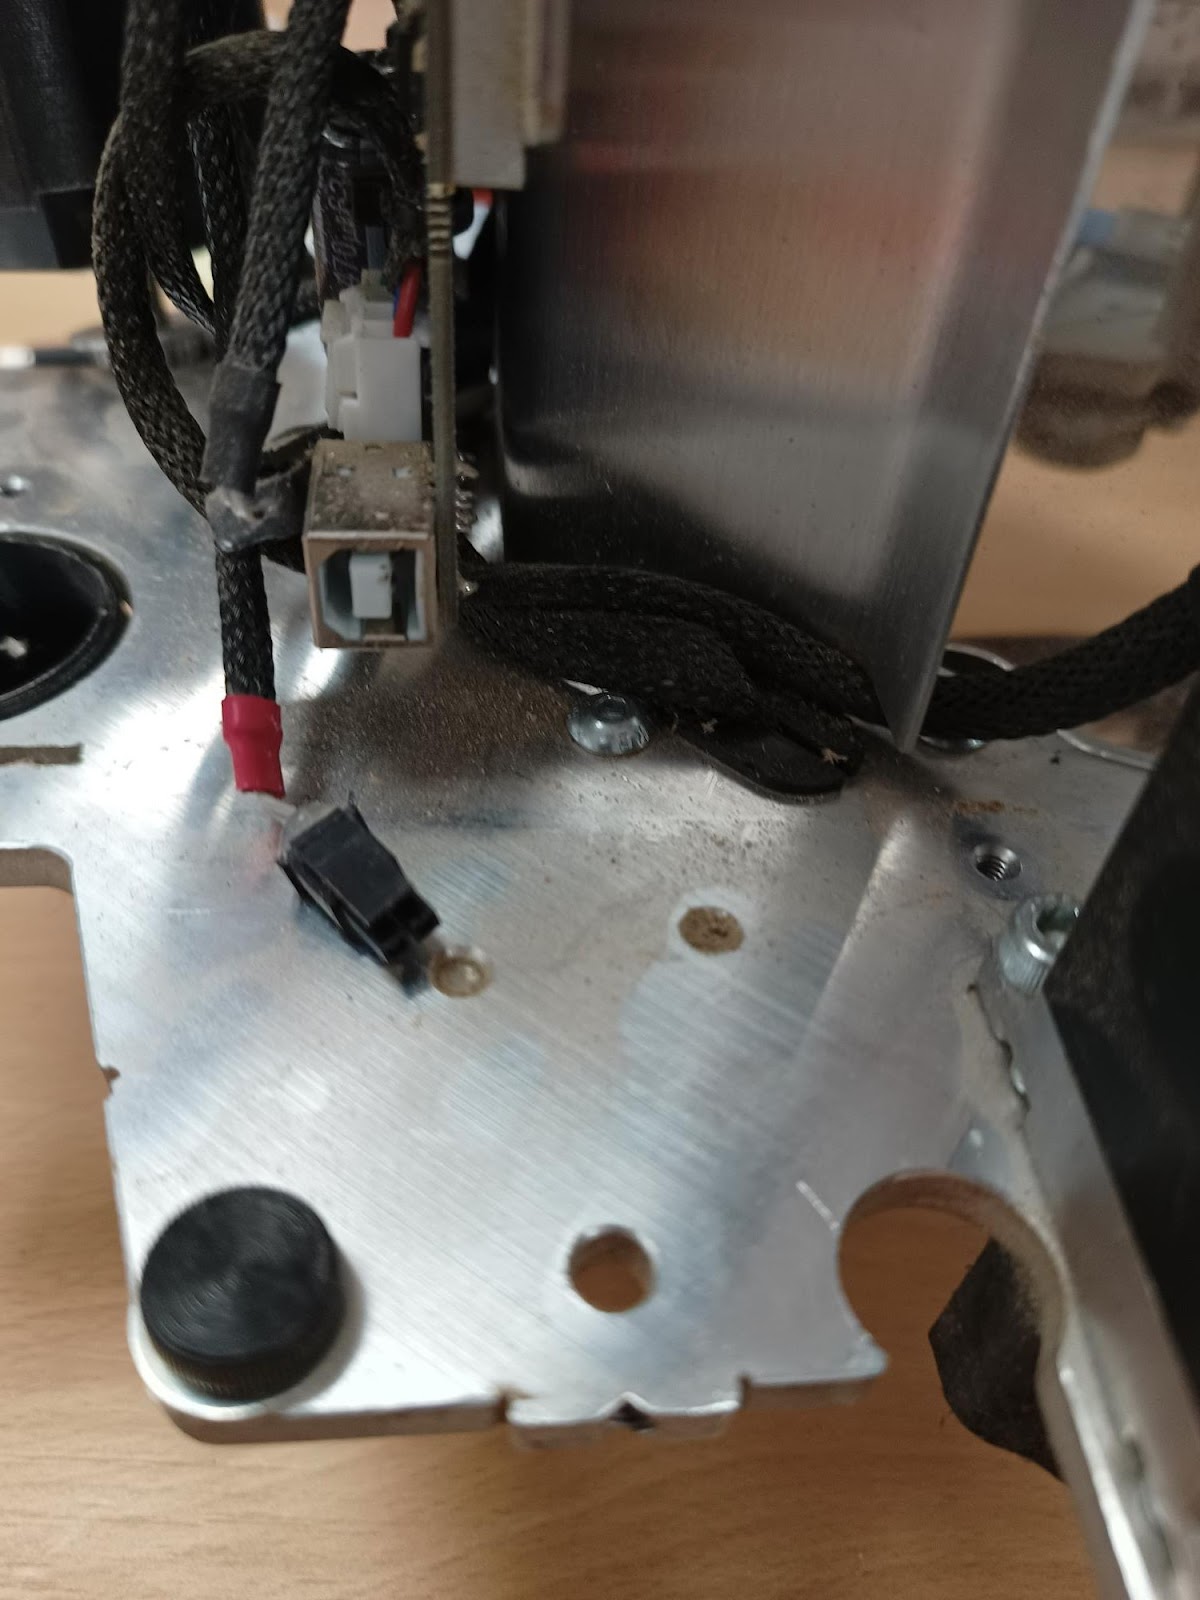
Step 8 - Remove the internal plastic connector framing
This should just pull free, it enables access to the loom connector
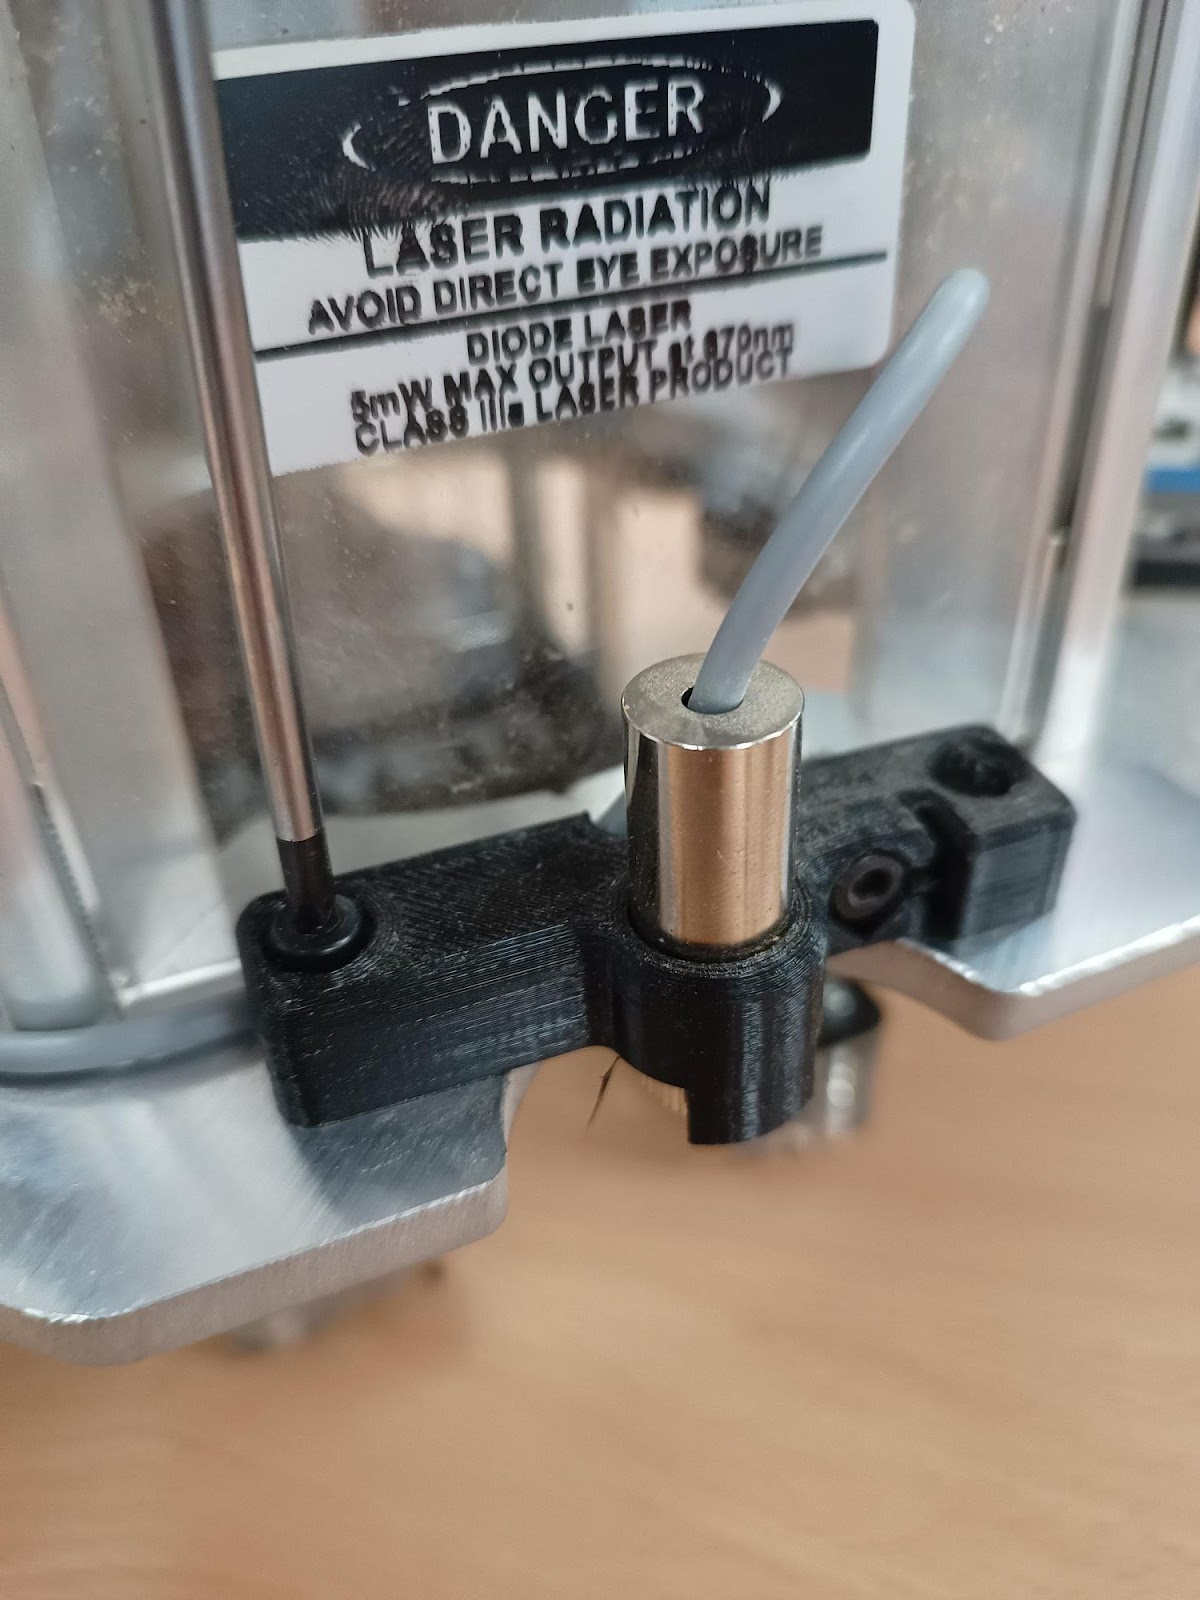
Step 9 - Remove the Laser and Loom
Remove the two screws on the laser holder. The laser can then be removed, during removal don’t pull from the loom just the laser.
Please take care with the 3d Printed holder, parts of this are small and fragile.
Upon reinstallation of your new loom, only tighten the screws up part of the way to begin with, this is to ensure enough slack in the cable to run nicely. Once the wire is in position the screws can be tightened up all the way.
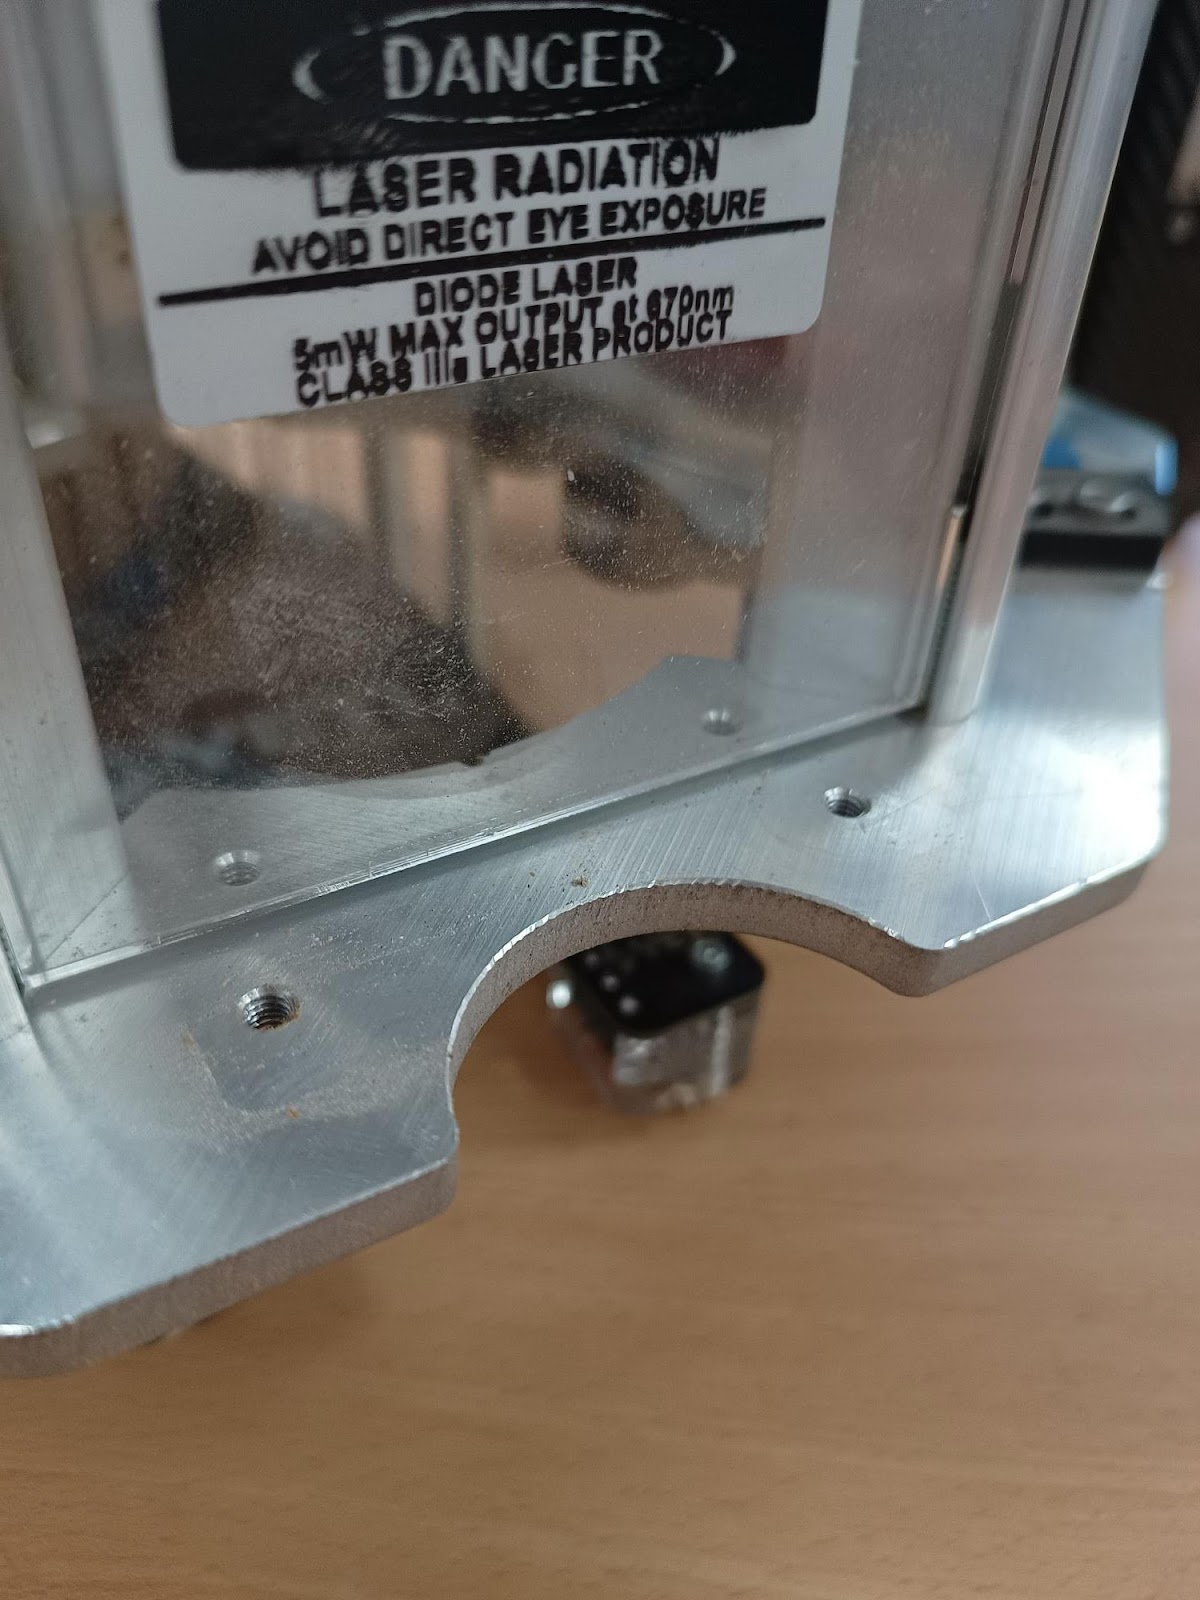
Step 10 - Remove the loom connector
Finally remove the loom connecting the laser. Careful with the wire when removing the connector
To reinstall follow the process backwards
Any further queries or questions please contact us through a support ticket