Important notes:
- Remove the Z-Head from Smartbench before this installation and preparation
- The bigfoot beta installation will remove the dust shoe light function
- Ensure you have enough safe space to work on your Z-Head before beginning
Tools required
Hex drivers:
4mm
3mm
2.5mm
2mm
Snips or scissors
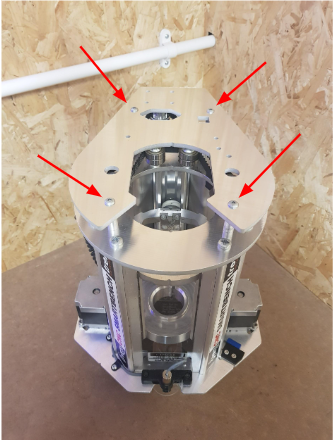
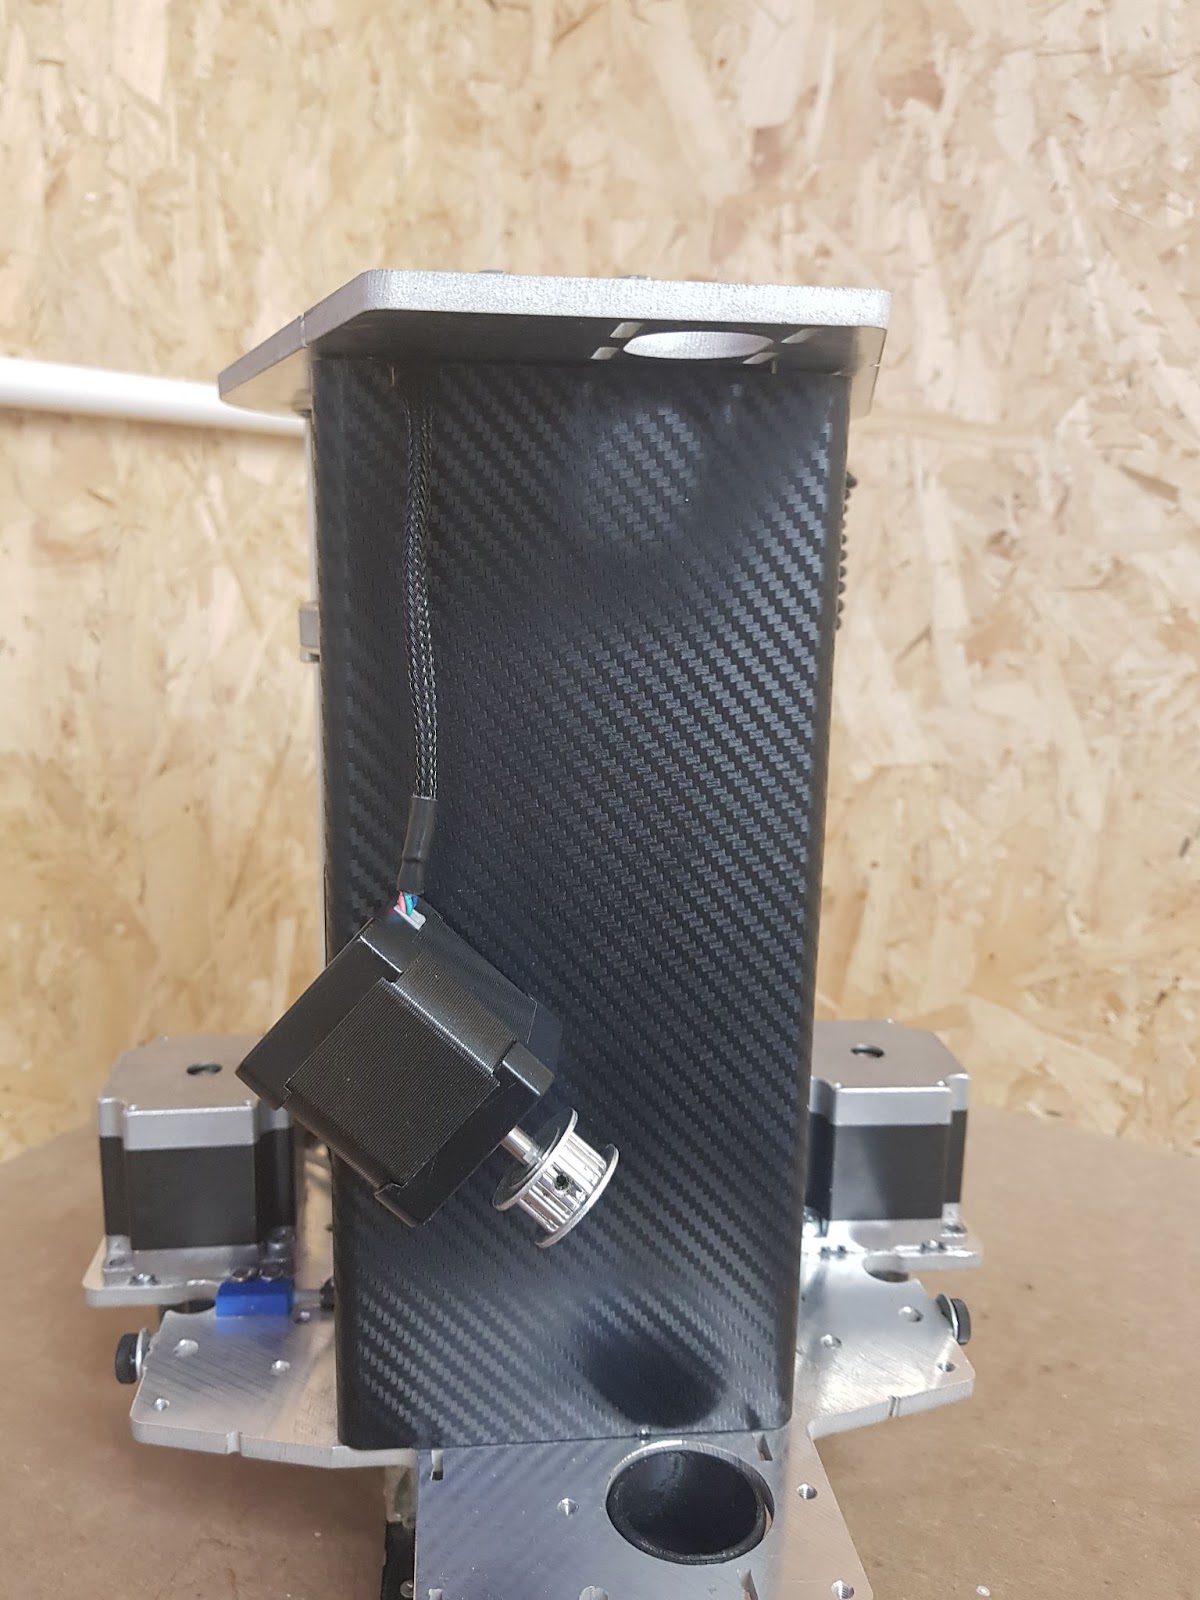
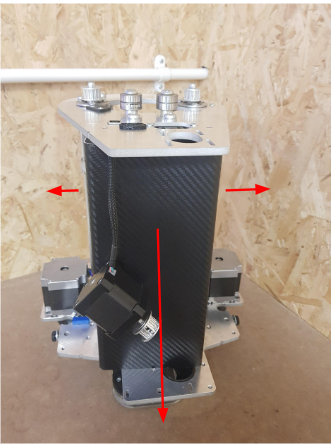
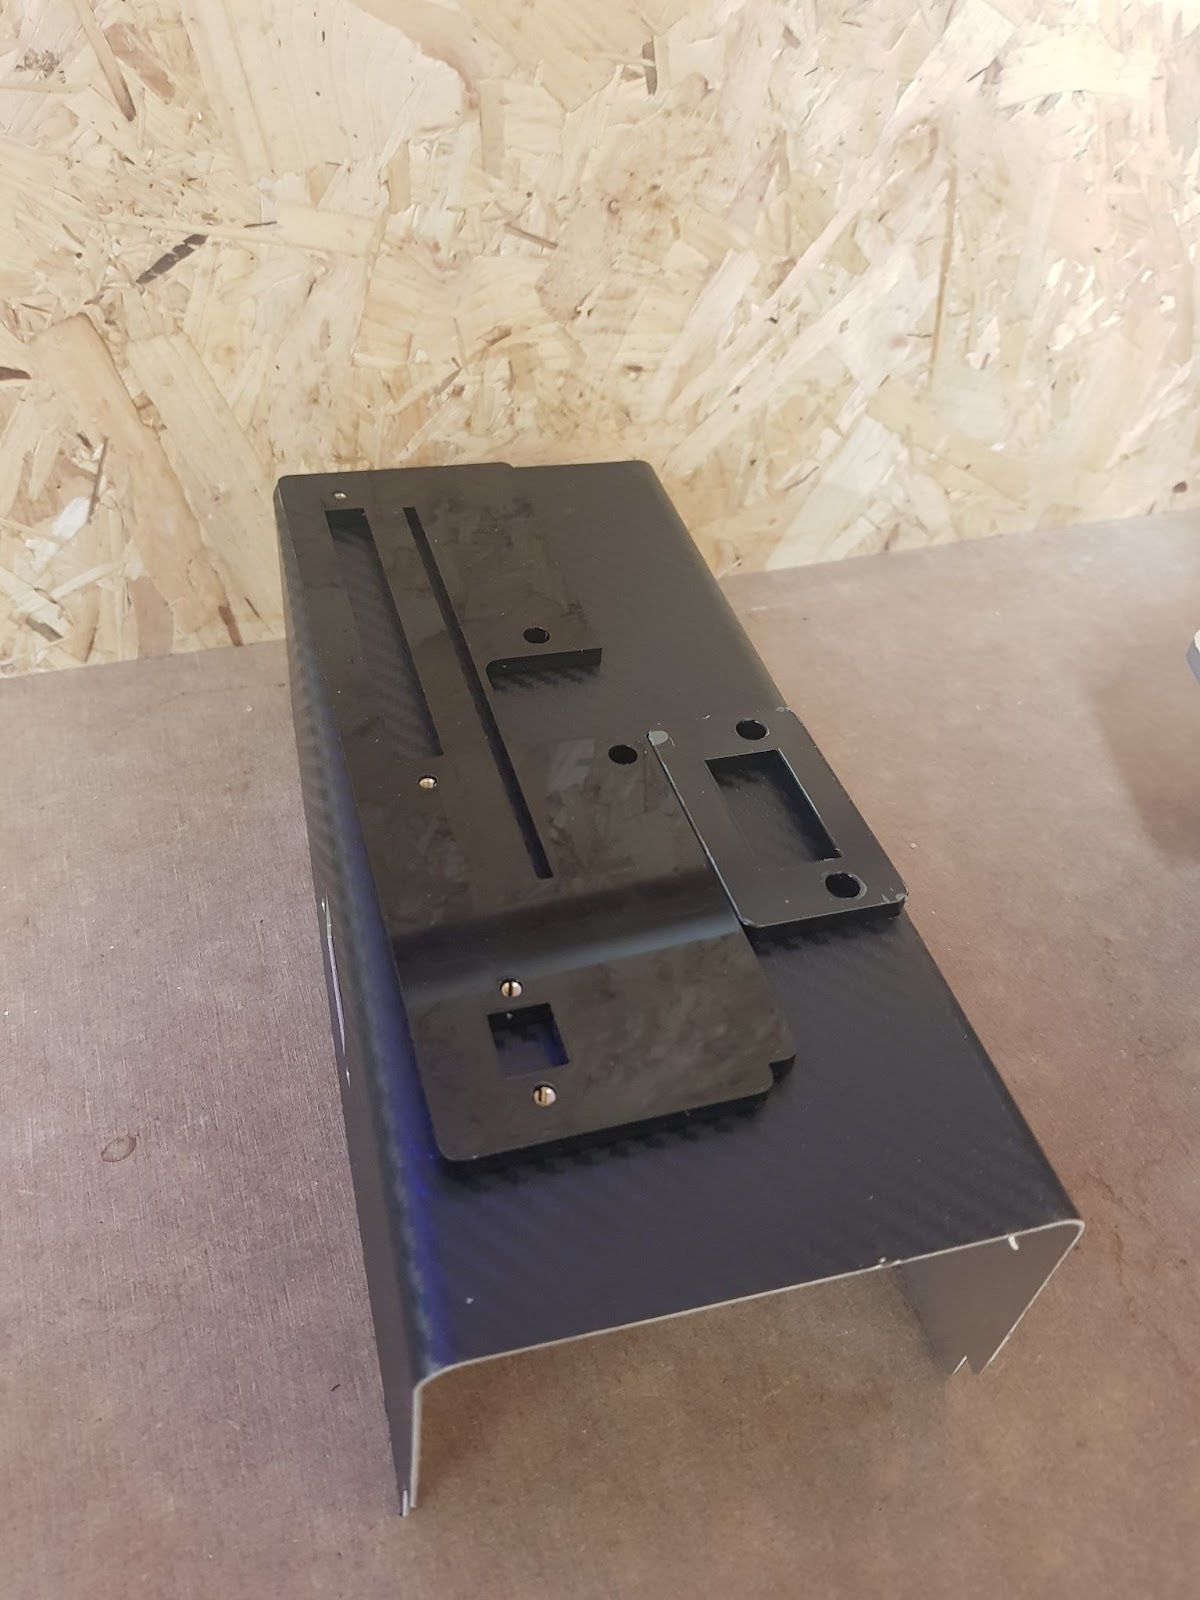
Step 1: Remove the 4x top plate screws
Remove the 4x bolts with a 3mm driver, and remove the top plate and the spacers

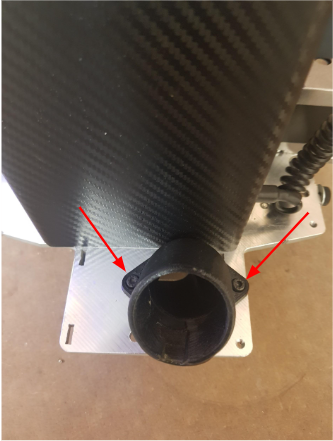
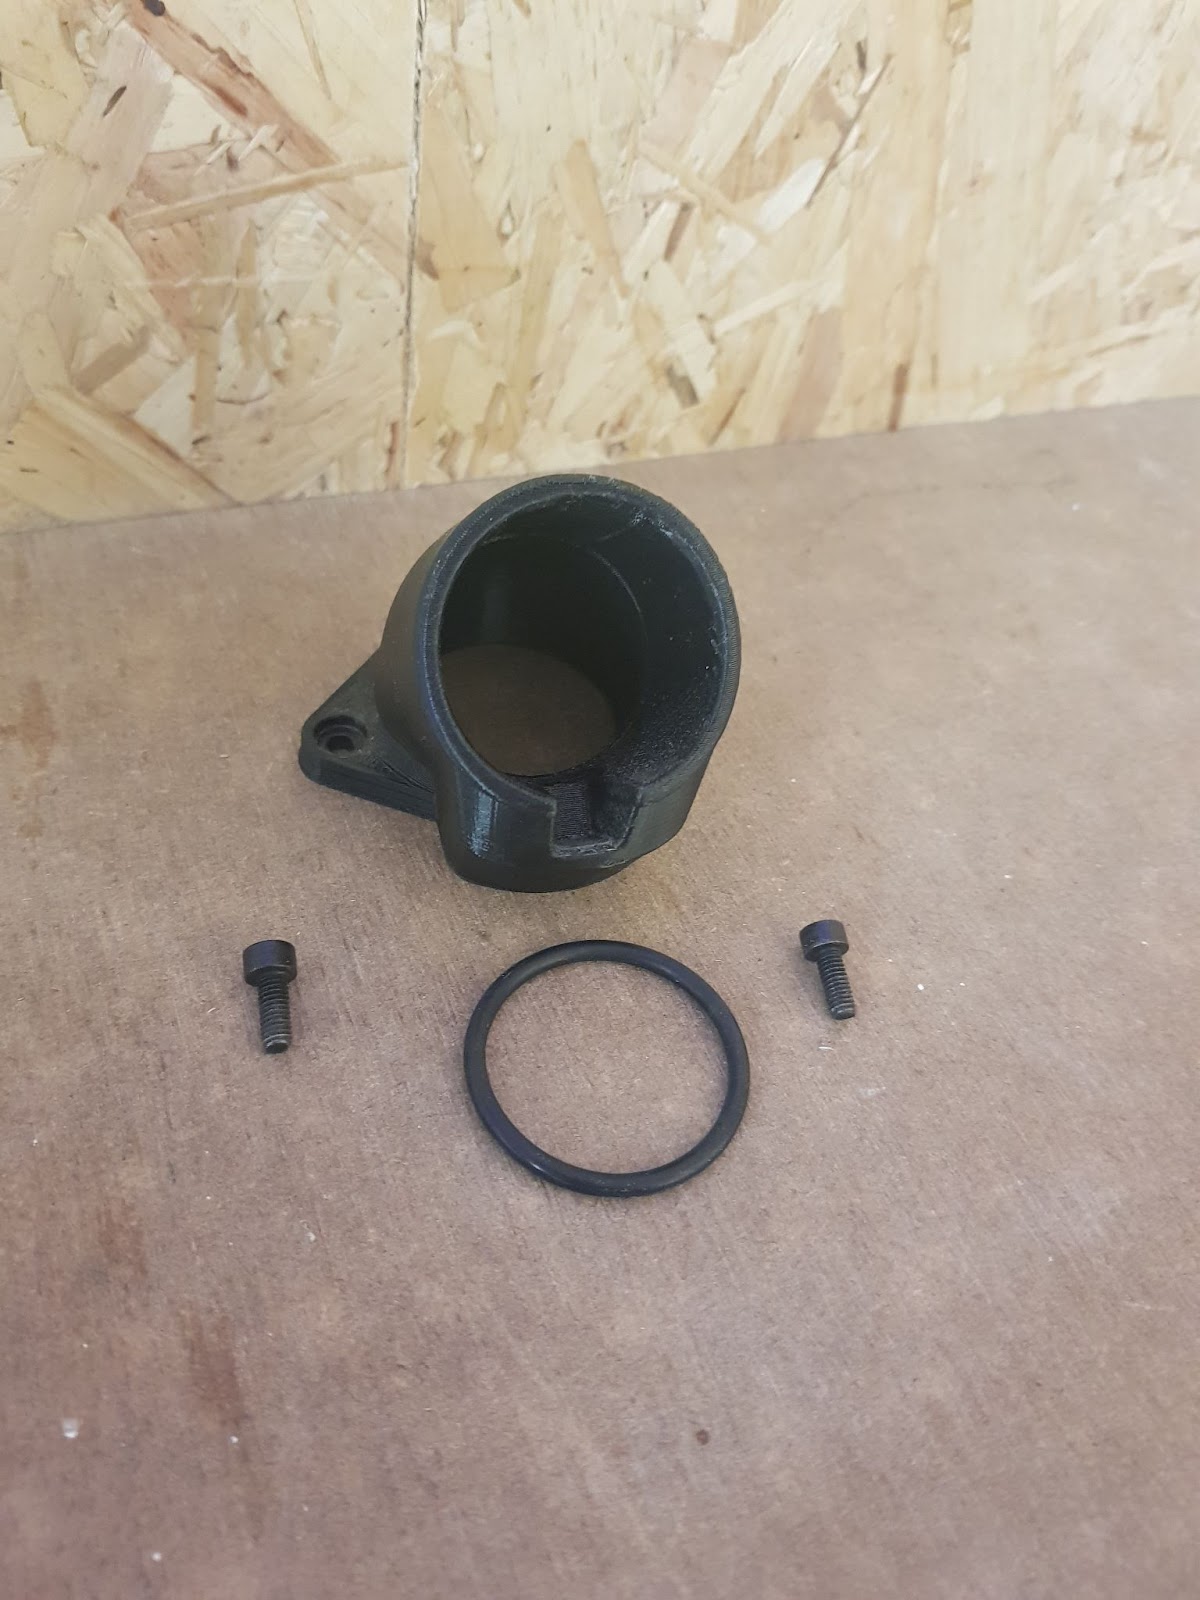
Step 2: Remove the extraction elbow
With the same 3mm driver remove the extraction elbow and the o-ring
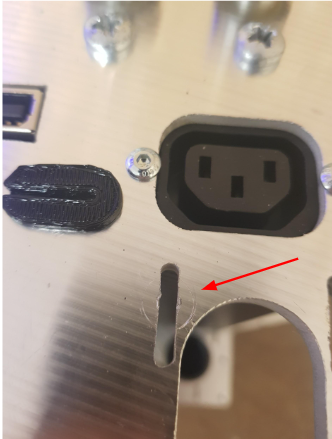
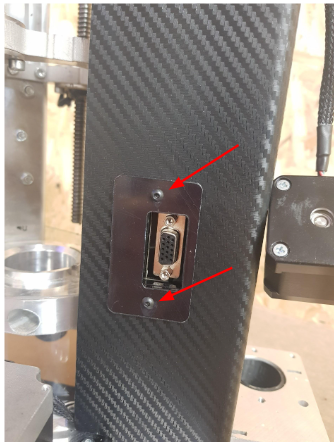
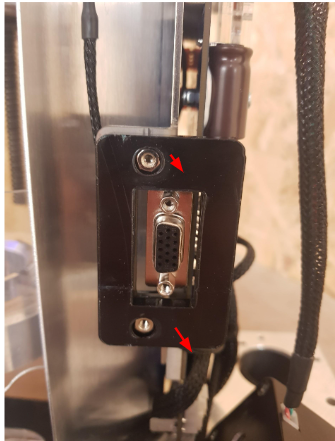
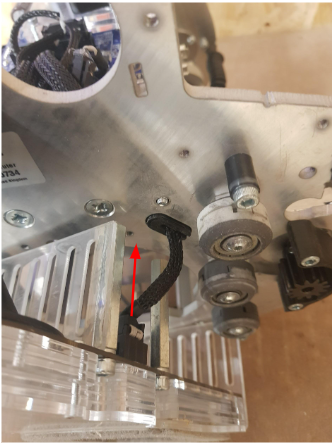
Step 3: Unplug the probe plate


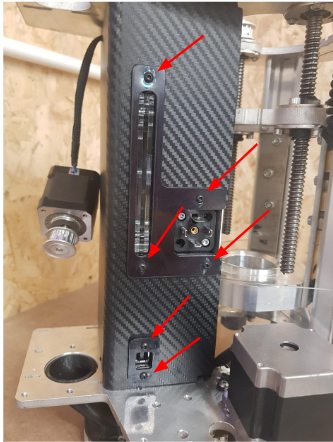
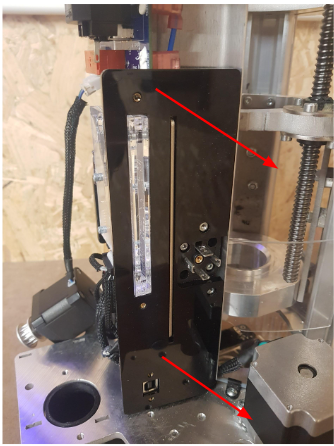
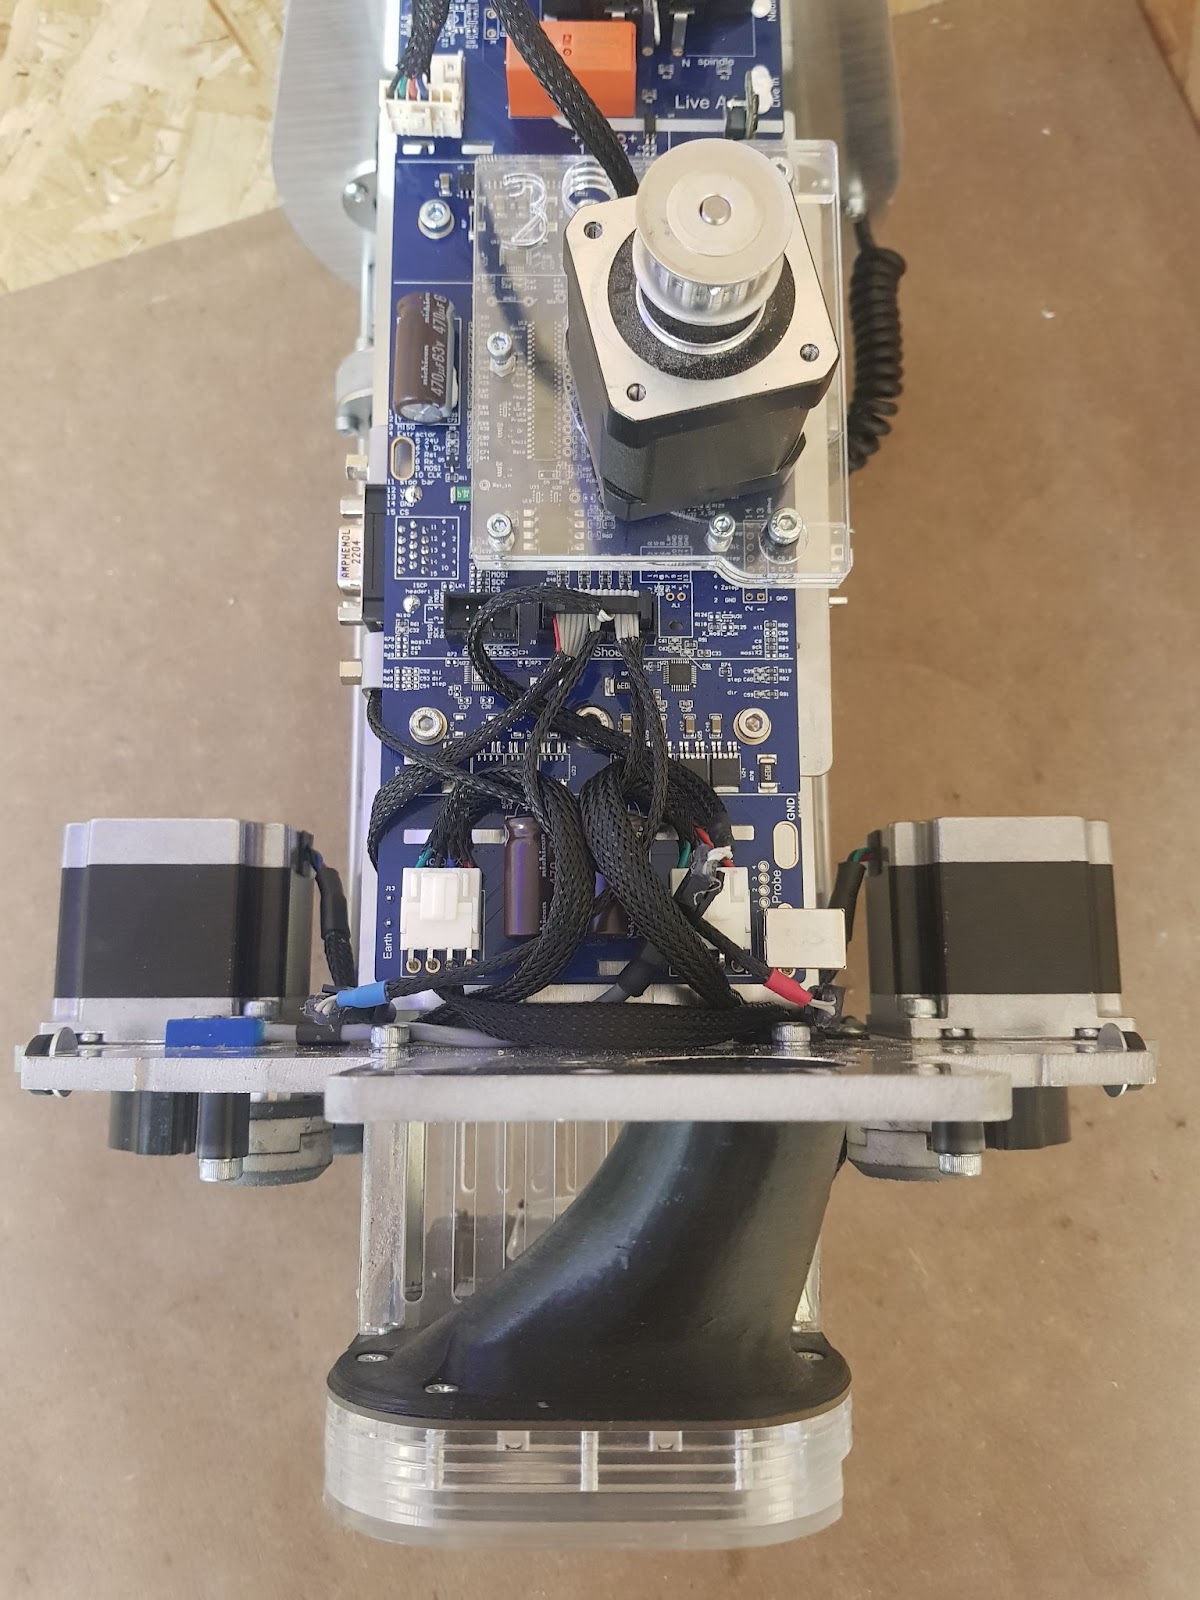
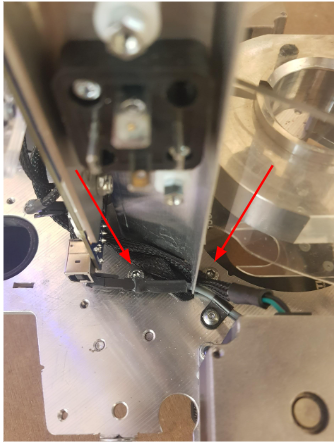
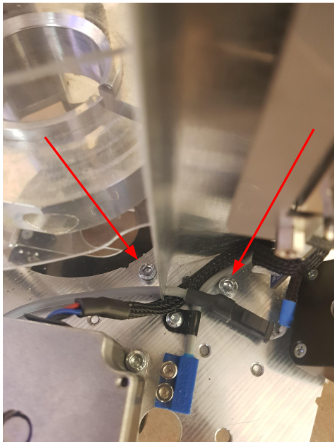
Step 4: Unscrew the 6x bolts with a 2.5mm driver
Note in the third photo in step 4, wear marks will indicate where to reinstall the Z-Axis motor when you come to re-assembly.
Let the Z-Motor down gently and it will rest on the Z head casing.


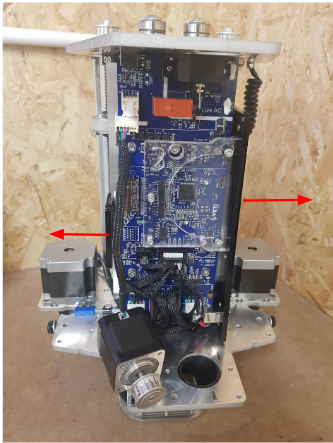
Step 5: Unscrew the 8x bolts with a 2mm driver
Remove the 8 bolts which hold on the Z Head casing
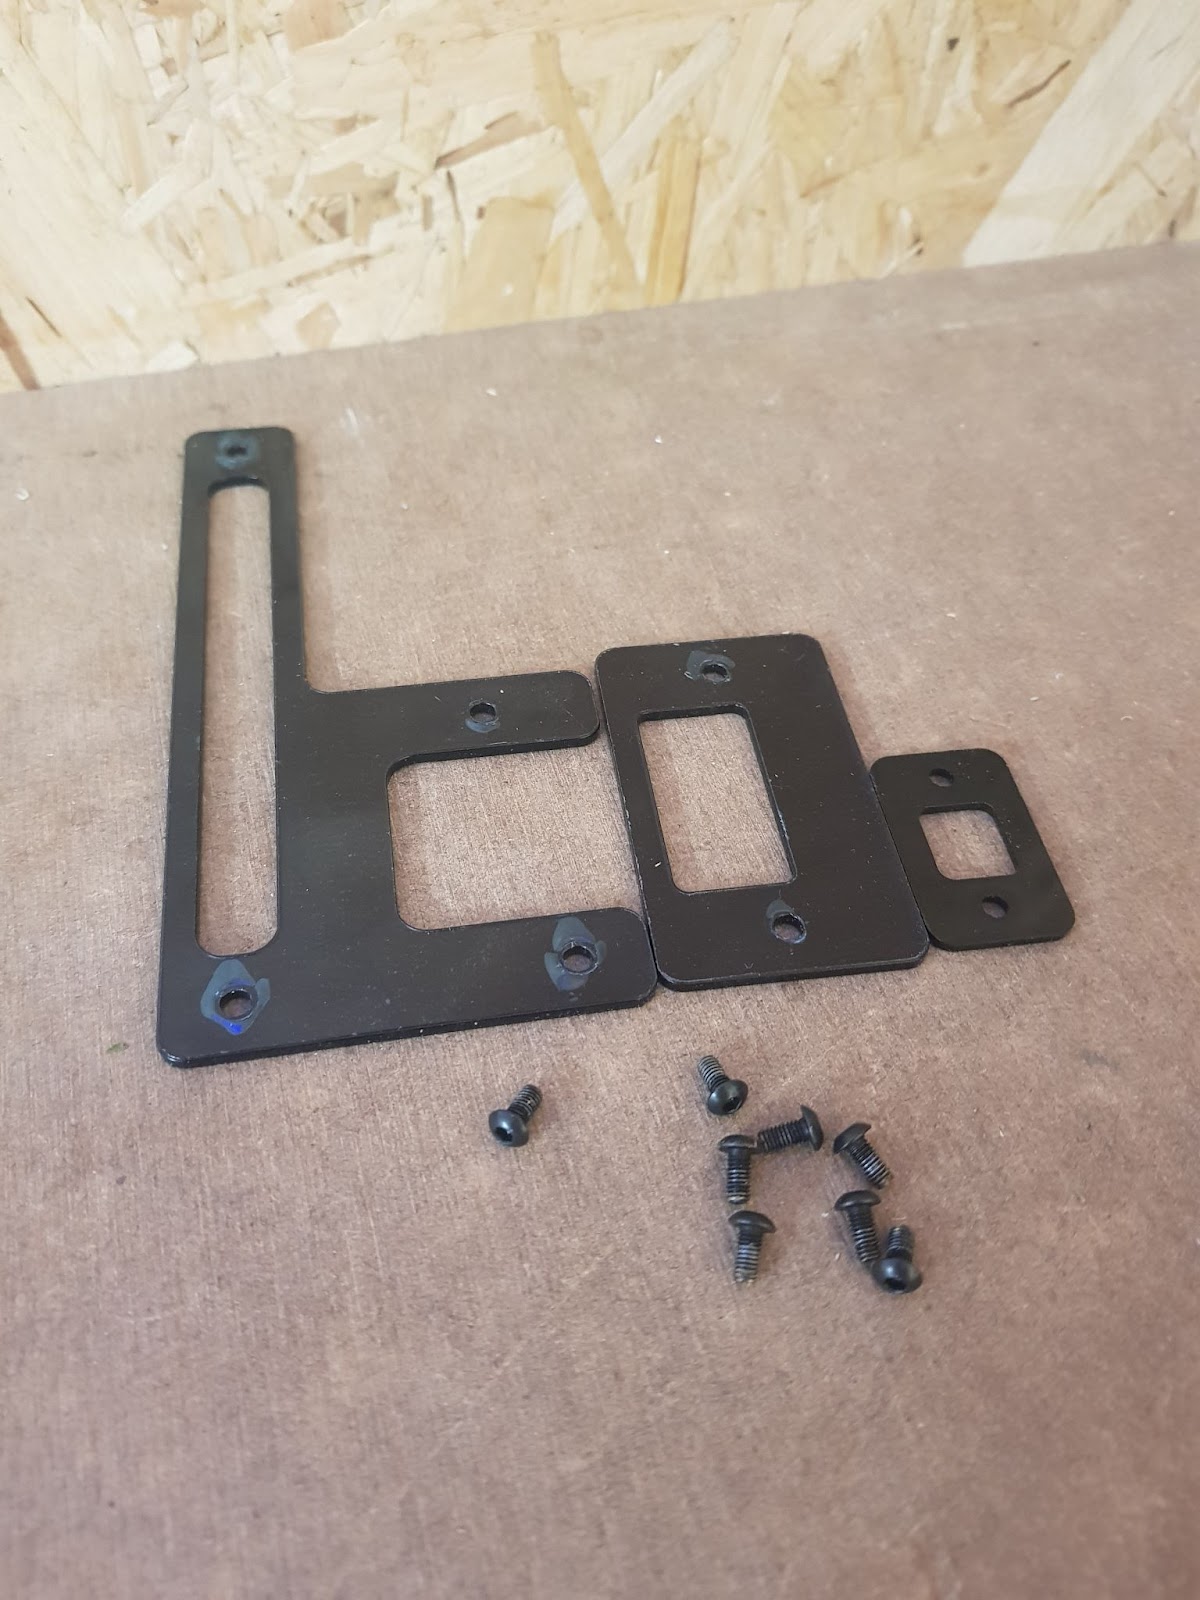
Step 6: Remove the Z Head Case and internal spacers
Pull the case to the rear of the Z-Head while pulling slightly to the sides of the case to keep it free of the internal spacers.
Remove the internal spacers as well to keep them safe, they just pull free
Step 7: Remove 4x bolts holding on the existing dust shoe with a 4mm driver
Lift the two spindle plastic covers up to access two of these bolts first.
It is safest if you lay the Z-Head down on its side, as the dust shoe holds the Z-Head up

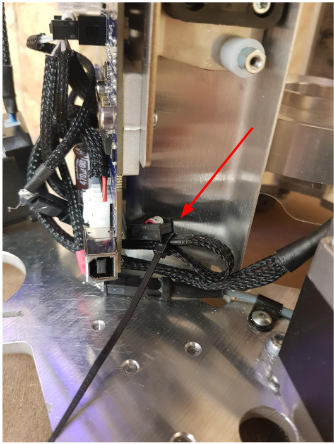
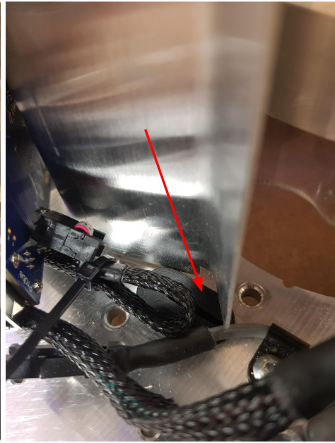
Step 8
Unplug the Dust shoe plug and zip tie the connector. I recommend reinstalling the strain relief connector, to prevent any dust ingress into the Z-Head casing. Trim the Zip tie for tidiness

Step 9
Ready to install the BigFoot Upgrade!! After Bigfoot installation, to put your Z-Head back together start from Step 6 and work backwards.
Any questions, issues or suggestions contact us via a support ticket.
Keep your old dust shoe safe just in case you would like to reinstall it in the future