How to install the Lower X Beam on the Y Bench.
< Previous | List | Next >
You will need

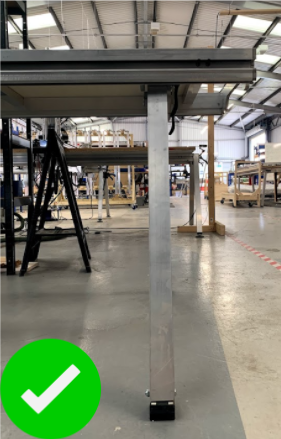
Lifting the Y Bench
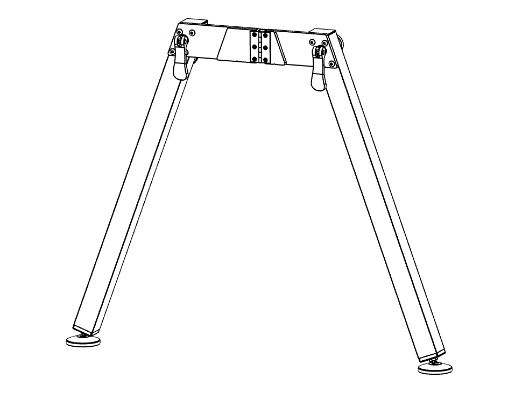
Prior to installing the Lower X Beam, unfold the second pair of legs.
We will use them to temporarily support the Y Bench at the Home end.
Push the clamp handles on the Legs down, so that they do not get in the way while supporting the Y Bench.
|

|
Do not twist the handles as this will change the clamping settings.
|


Position the Legs so that they sit just past the first crossbeam from the Home end:
A: First crossbeam from Home end


The position of the Legs should be straight and not twisted to maintain the Y Bench balance, like this:

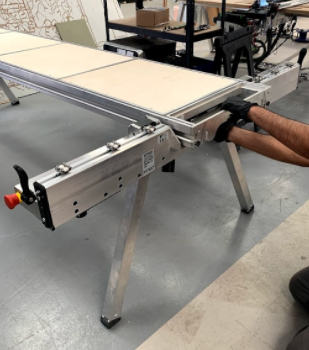
Assembling the Lower X Beam onto the Y Bench
Lift and align the Lower X Beam to the Y Bench so that the Home label on the Lower X Beam is facing the same direction as the Home label on the Y Bench.

Align the Lower X Beam wheels and the pinions to the Y Bench channels.
B: Pinion
C: Lower X Beam wheels

The Y Bench pinion and the wheel channels are illustrated below:
D: Pinion channel
E: Wheel channel

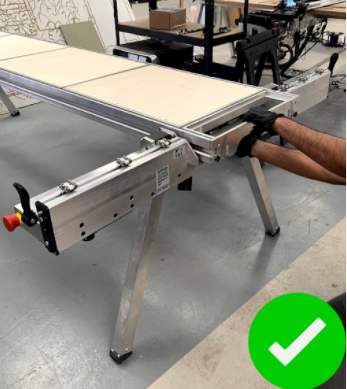
Push the Lower X Beam onto the Y Bench.

While pushing you should feel some slight resistance on the wheels as they pop into place.

Push the Lower X Beam onto the Y Bench, and test the fitting to make sure the pinions and the wheels are fully engaged into the channels.
|

|
If the lower X beam doesn’t push through, pull the Lower X Beam back out. Realign the wheels and pinions with the channels, and try mounting it again.
|
Lift the clamp handles at either end of the Lower X Beam so that they are open and pointing up (this is necessary to prepare for mounting the Upper X Beam).
|
|
Do not twist the handle as this will change the clamping settings.
|

You have successfully fitted the Lower X Beam.
< Previous | List | Next >