If you have been informed of a faulty micro SD Card this is how to replace it for a console XL
This guide is only for Console XL’s
If you have been informed of a faulty or corrupted micro SD Card this is how to replace it
(Pre-reading) The Console contains a small computer that is constantly carrying out background processes, and sending or checking information in its memory while it is on.
|

|
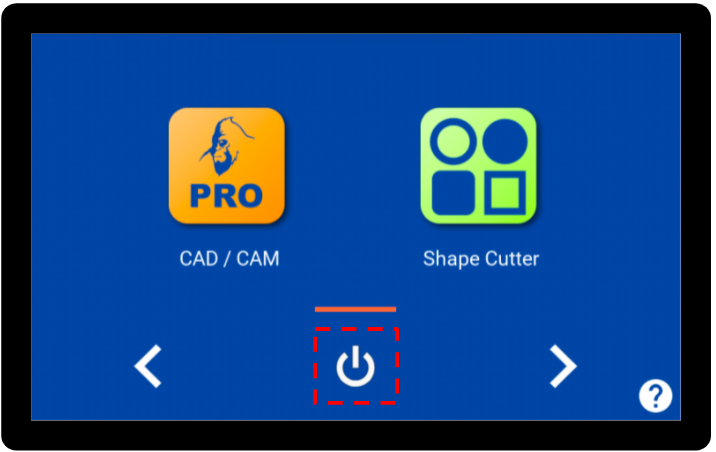
To avoid the need to repair your software in the future, or further damages to the console memory, it is recommended to follow the below proper shutdown procedure for SmartBench rather than using the Red E-Stop Button
|

|

|
Note this will reset everything on your console back to its default:
-
So if possible ensure you have all the files you need
-
You are aware of your current brush hours in the maintenance application
-
Remember to reset your laser datum offset if you have this feature installed when you install the new card (Link here for guidance)
|
Step 1) Picking a Micro SD Card
Although any Micro SD card (or reflashing the faulty one in your console currently) could work temporarily:
We strongly recommend using these SanDisk Max Endurance 32GB micro SD cards for consoles as they have the best tested longevity and performance and enough storage for future updates.
Link to one for reference on Amazon

Step 2) Connecting the Micro SD Card to your computer
Connect the Micro SD card to your computer. If your computer does not have a Micro SD card slot you can use a Micro SD to SD card adaptor or a Micro SD card to USB adaptor.
Step 3) Install flashing software
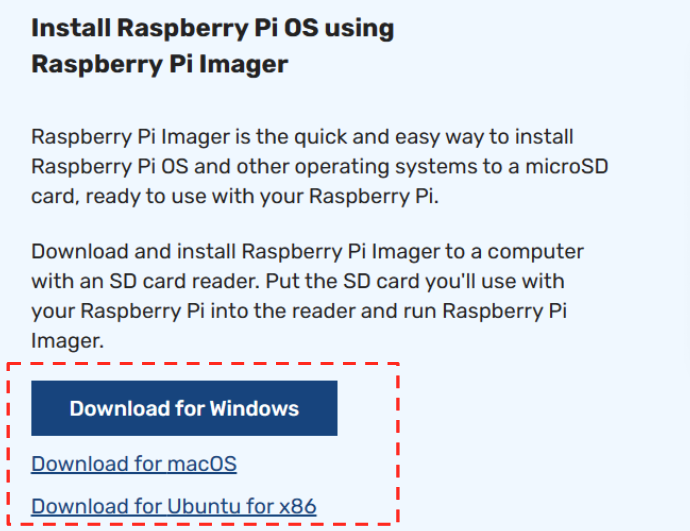
Install the Raspberry Pi Imager program
You can download it directly from here (it is free to use and download)
Download it and go through the standard install process:
Step 4) Downloading the new console software
Download the image file from our google drive link and unzip/extract all of it

Step 5) How to flash the required image
Connect the new micro sd card to your computer
Choose “No Filtering” as the first option

For the ”Choose OS” option select “Use custom” this option is usually located at the bottom


Navigate to your downloaded image from step 4, select it and click on Open

Then click on Choose Storage
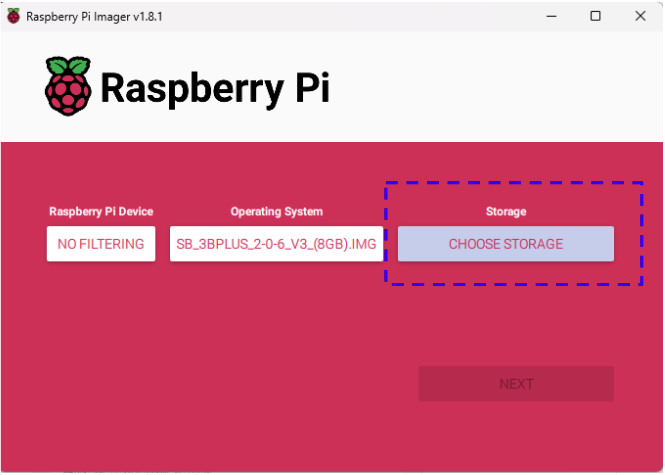
Select the connected card

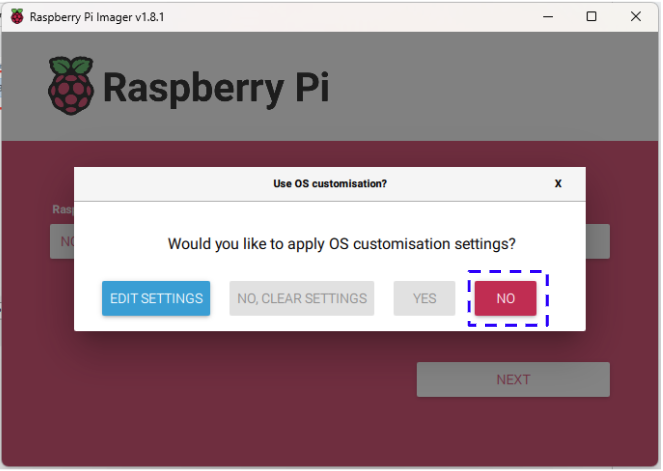
Then once everything has been setup click on “Next”

Select “No”
Select “Yes”

Depending on the version you may have a windows explorer window pop up saying no disk connected you can close this window.
Wait for it to Write:

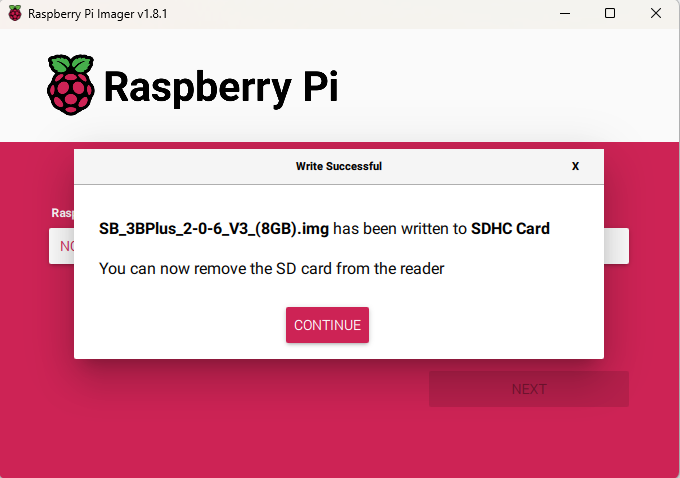
Remove the Micro SD Card from your computer
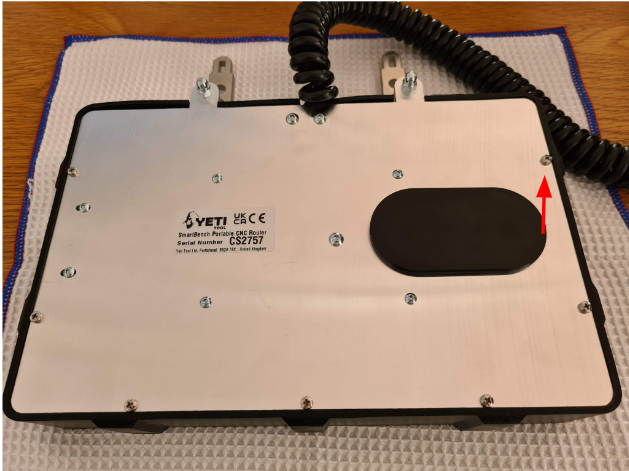
Step 1) Remove the Console XL micro SD card cover
Step 2) Remove the old Micro SD card

Step 3) Reinsert the replacement Micro SD Card
Step 4) Reinstate the Console XL micro SD card cover
