This article explains considerations when designing files for SmartBench.
Understanding tolerances
What is tolerance?
It is impossible to make anything to a mathematically exact size. A tolerance is the overall amount that a dimension could vary. Every dimension will attract a tolerance, and there is no such thing as “zero tolerance”, or “perfect dimension”.
When do we need tolerances?
Tolerances are important to mating parts in an assembly, or parts that fit together. This means that if you are trying to cut a hole for a ~10 mm dowel for example, you may not be able to fit the ~10 mm dowel into the 10 mm hole. Therefore you will need to make the hole slightly bigger.
To do this, we need to first understand the requirements for a nominal fit. E.g for a guaranteed clearance fit, it wouldn't be 10.0 mm + 0.5 mm, it would be 10.1 mm +0.5 mm to ensure that it still allows for clearance in the worst case condition.
SmartBench tolerance
When creating a design you should be aware that SmartBench offers a finished part accuracy of +/- 0.5 mm (0.019”) or better. Better is readily available, but there are many variables that can affect the accuracy of your finished part. These are:
-
Material type
-
Cutter diameter
-
Cutter type
-
Cutter length
-
Cutter condition
-
Spindle speed
-
Feed rate
-
Plunge rate
-
Ramps/ leads
-
Finishing passes
-
Cutting direction
-
Workholding
-
Squaring method
You can find more information about the points above here.
It is also important to note that this is the tolerance expected at any position across the machine, no matter how big or small the part. This means, we should always apply the same tolerance across all parts we cut.
Test cutting
If you are looking for more accurate results then we would recommend completing a series of test cuts on some scrap material. This allows you to understand the tolerance of your machine as well as the best combination of variables to use.
Once you have completed your test cuts, you can then correct for this in your design file.
You can do this by modifying the design itself, or accommodate for it using the allowance in the toolpath itself.
Example application: MFT holes
A great example of applying the technique above is an MFT style arrangement of holes.
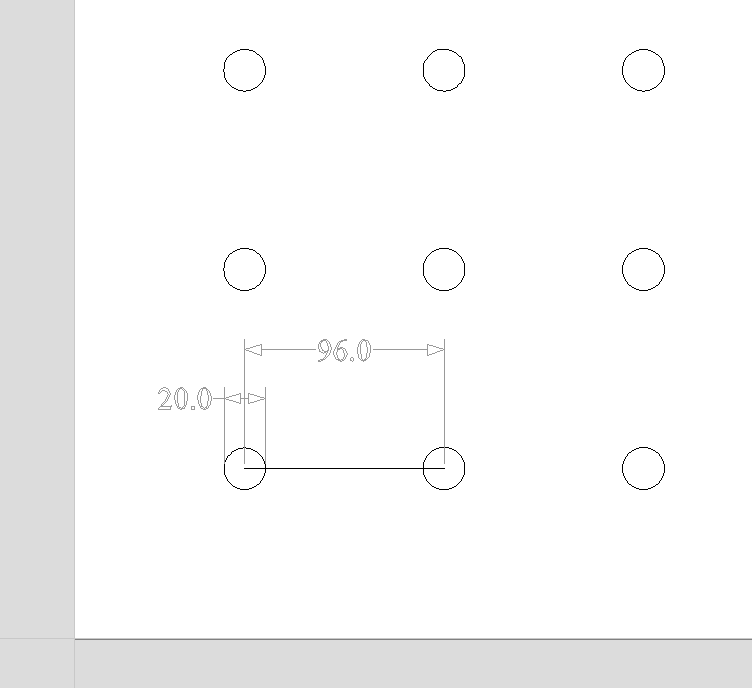
A MFT table top, created by Festool, is a pattern of 20 mm (or in some cases 19.01 mm/ 0.75”). These holes are arranged in a pattern with 96 mm distance between hole centres.
|
|
|
MFT style top. 20 mm dia holes w/96mm spacing
|
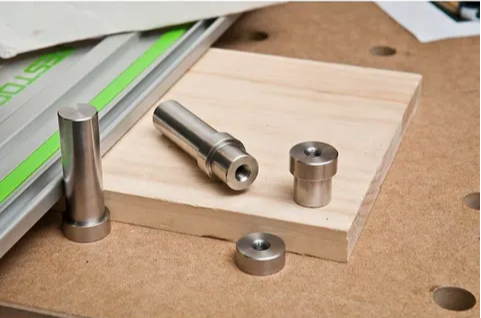
The holes are created to receive a plastic or metal insert, which can be used for workholding. The Inserts, or Dogs are commonly 19.9 mm, to ensure they fit a 20 mm hole.
|
|
|
Photo courtesy of www.festoolshop.co.nz
|
There are 2 different ways we can approach cutting the file on SmartBench. For the examples below, we will be using Vectric Vcarve Pro.
We used MDF for the tests below, so you may need to refer to the material profiles and datasheets for specific parameters for your application.
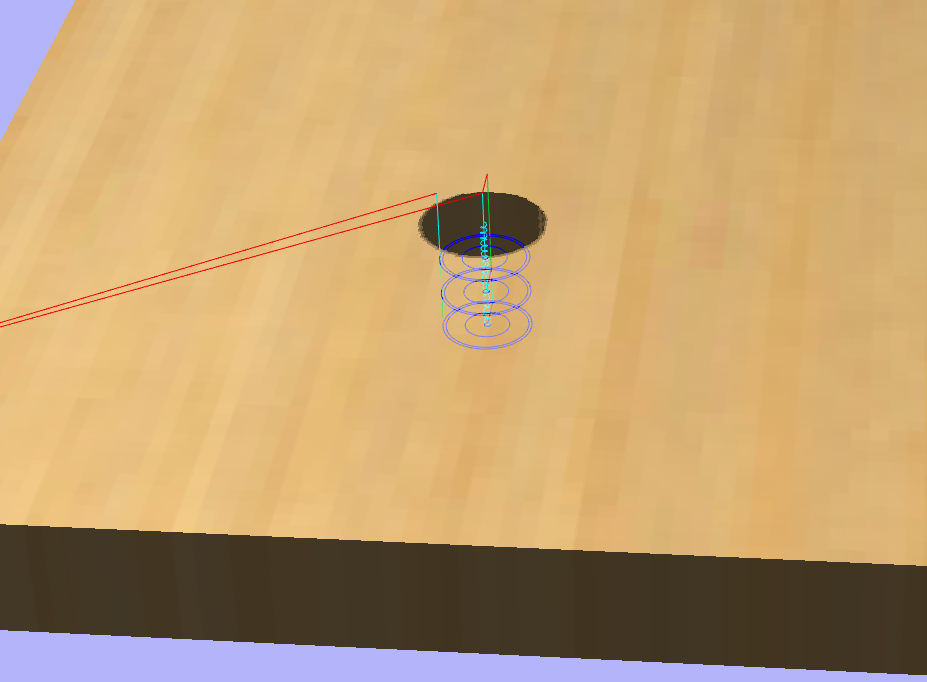
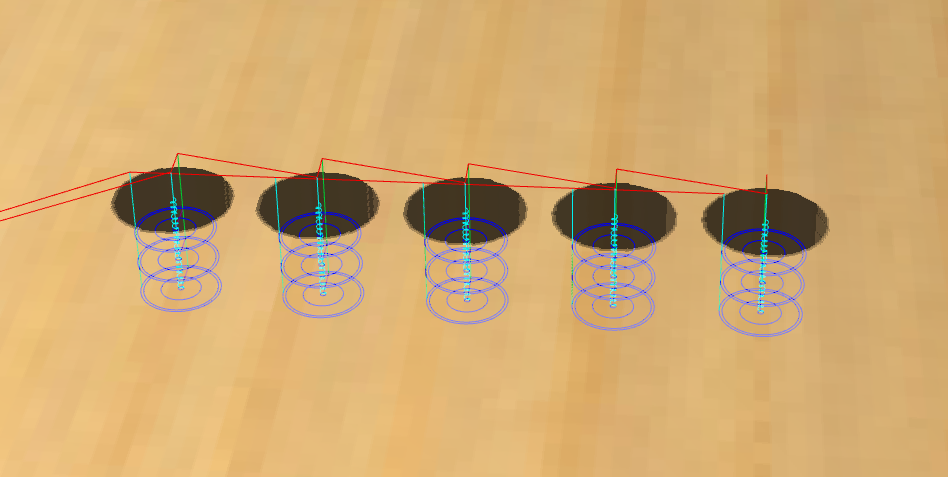
Option 1 - Pocket toolpath
Process each hole using the pocket toolpath option. This will use a cutter that is smaller than the diameter of the feature. For this example, we will use a 6 mm Compression cutter.
The pocket toolpath will remove all of the material inside the given feature. For the example below, I have also added a finishing pass of 0.5 mm.You can find out more about finishing passes here.
As we are using a cutter with a diameter of 6 mm, it is likely we will see some deflection so to achieve a hole with the diameter of 20 mm, we may need to add a tolerance.
A series of test cuts (5 is a good sample range), will allow us to measure the finished diameter, and give us a value for our tolerance.
Our test cuts show that our SmartBench cuts these holes with an average tolerance of -0.3 mm. With this figure, I can add this to my design file to make the drawing 20.3 mm, which should result in holes as close to 20 mm as possible.
|
Test hole #
|
X axis measurement (mm)
|
Y axis measurement (mm)
|
Dimension in CAD/CAM (mm)
|
Average tolerance difference (mm)
|
|
1
|
19.64
|
19.76
|
20
|
-0.3
|
|
2
|
19.69
|
19.65
|
20
|
-0.33
|
|
3
|
19.67
|
19.70
|
20
|
-0.32
|
|
4
|
19.75
|
19.62
|
20
|
-0.32
|
|
5
|
19.66
|
19.84
|
20
|
-0.25
|
Results after applying tolerance. Our target here is 20 mm
|
Test hole #
|
X axis measurement (mm)
|
Y axis measurement (mm)
|
Dimension in CAD/CAM (mm)
|
|
1
|
19.93
|
20.03
|
20.3
|
|
2
|
20.03
|
19.93
|
20.3
|
|
3
|
20.09
|
19.95
|
20.3
|
|
4
|
19.92
|
20.00
|
20.3
|
|
5
|
20.06
|
19.83
|
20.3
|
Using this method, we processed a 4’ x 4’ MFT board in 18 mm MDF. The total cut time was 1 hour 43 minutes.
Option 2 - Drill toolpath
Festool produces a cutter specifically designed for cutting 20 mm holes. This is traditionally used with a plunge router, however, it can also be used on SmartBench.
Festool 20 mm cutter
To use this, we will need to create a drill toolpath that will plunge the tool directly down into the material and result in a hole with the exact diameter of the cutter.

Below are the results from a range of 10 holes cut with the 20 mm Festool cutter.
|
Test hole #
|
X axis measurement (mm)
|
Y axis measurement (mm)
|
|
1
|
20.00
|
19.99
|
|
2
|
19.94
|
19.99
|
|
3
|
20.02
|
20.09
|
|
4
|
19.94
|
19.97
|
|
5
|
19.97
|
19.97
|
|
6
|
20.11
|
20.07
|
|
7
|
20.03
|
20.01
|
|
8
|
20.00
|
20.00
|
|
9
|
20.05
|
20.06
|
|
10
|
19.96
|
20.00
|
Using this method, we processed a 4’ x 4’ MFT board in 18 mm MDF. The total cut time was 21 minutes.
Conclusion
Comparing the cutting time, and taking into account the time for testing makes it clear to see that it is best to use the correct size tool and the drill toolpath option for this application.
Troubleshooting
If you are still experiencing problems with accuracy even after following our best practices, then we suggest taking a look at our articles here.
For anything else, please submit a support ticket here.